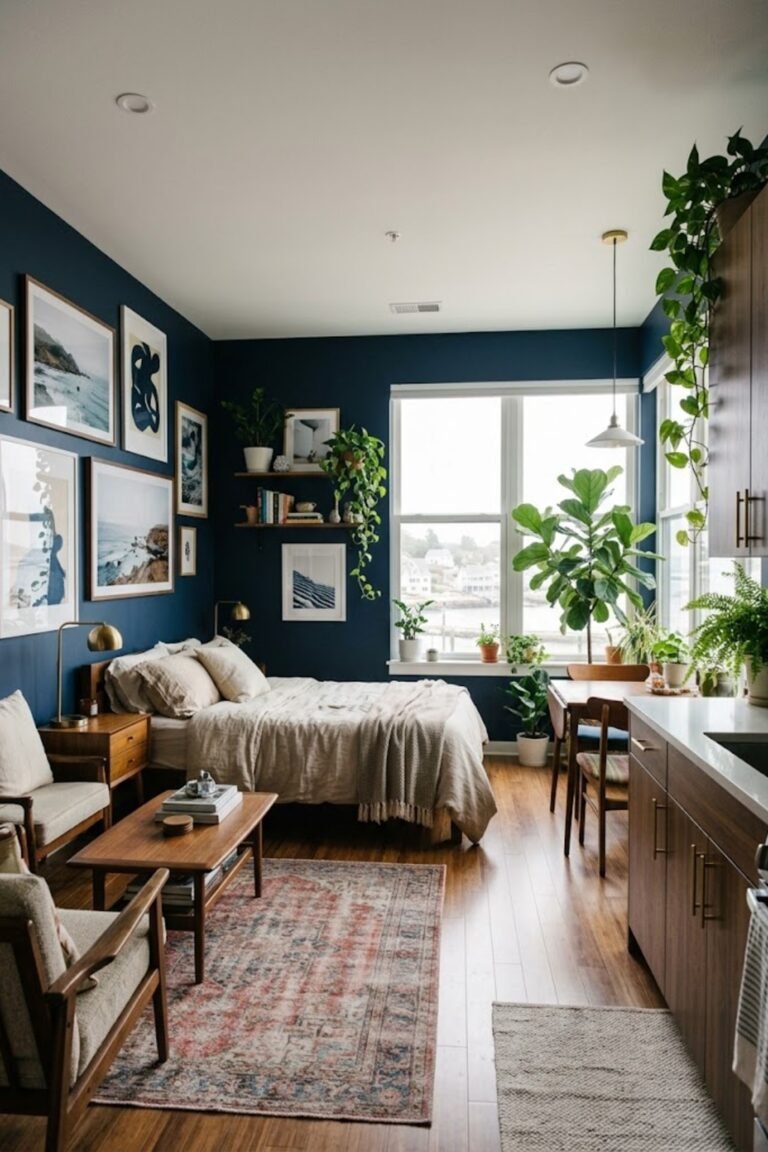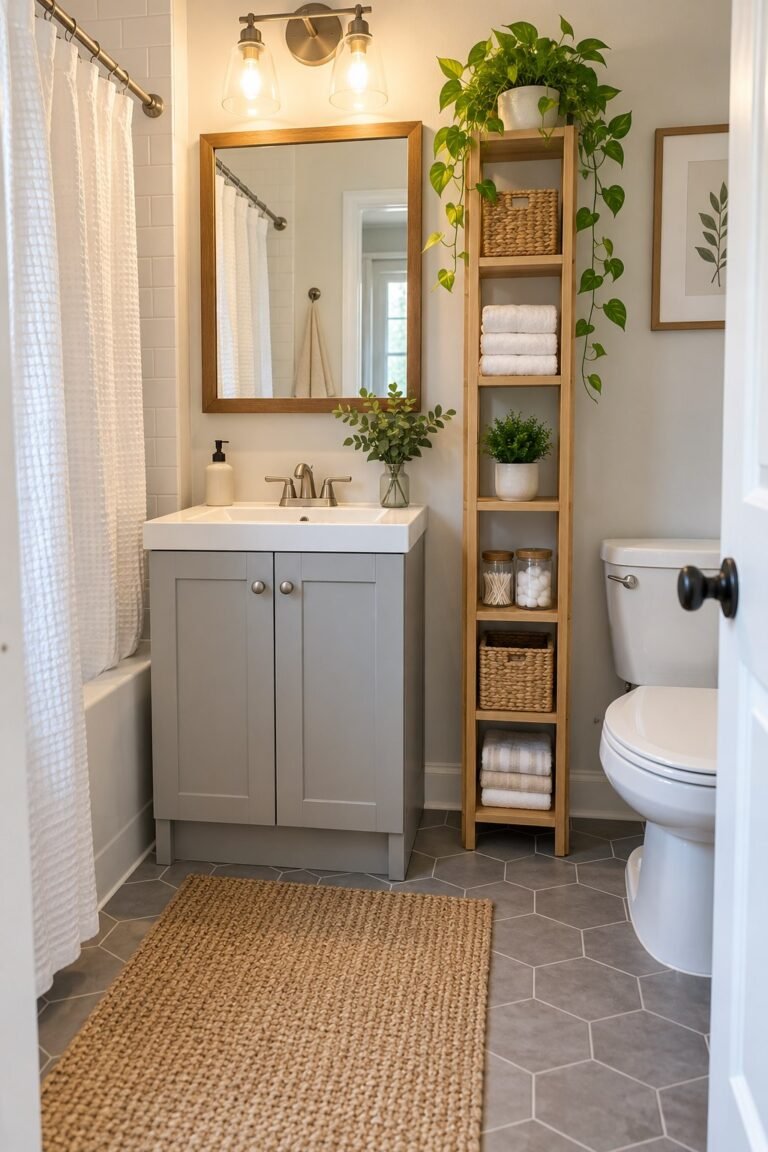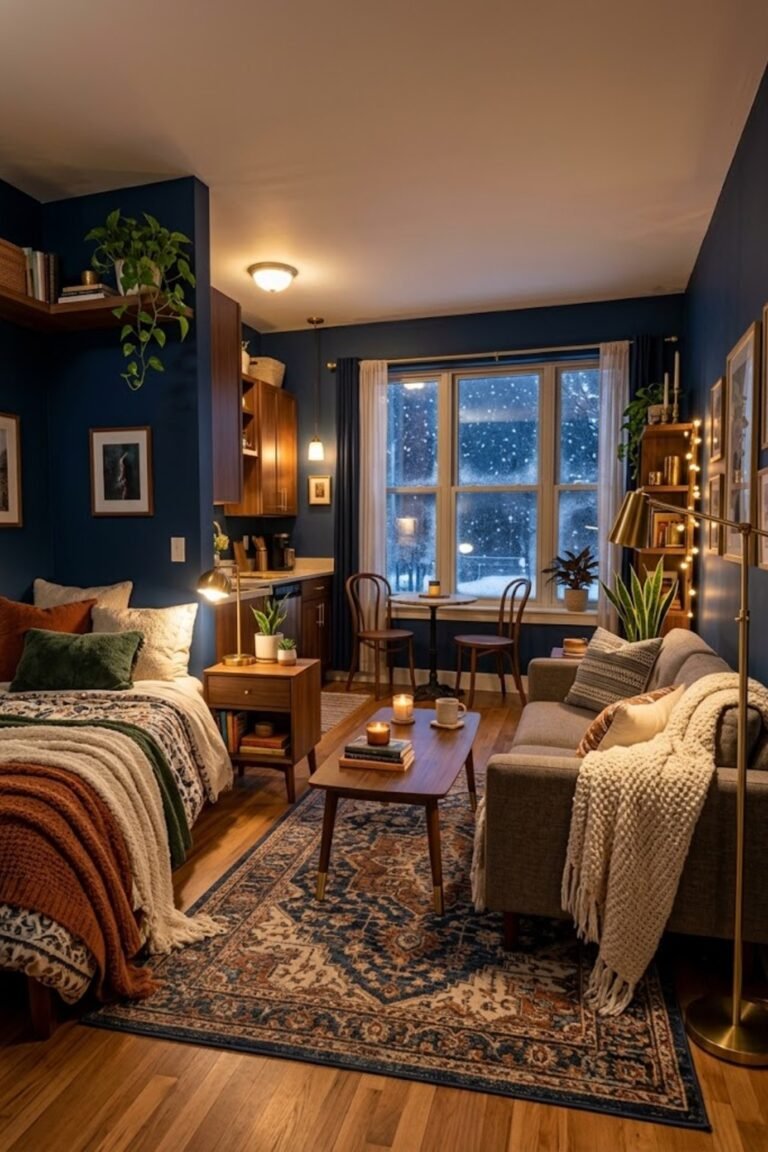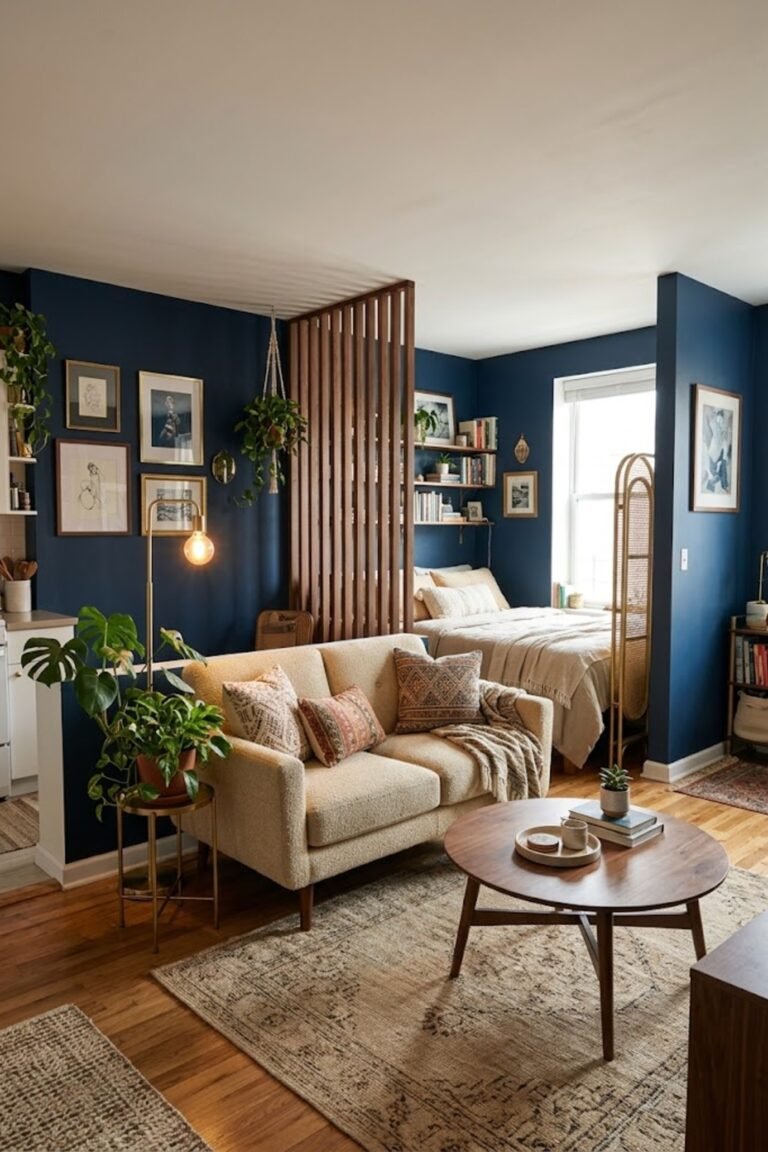
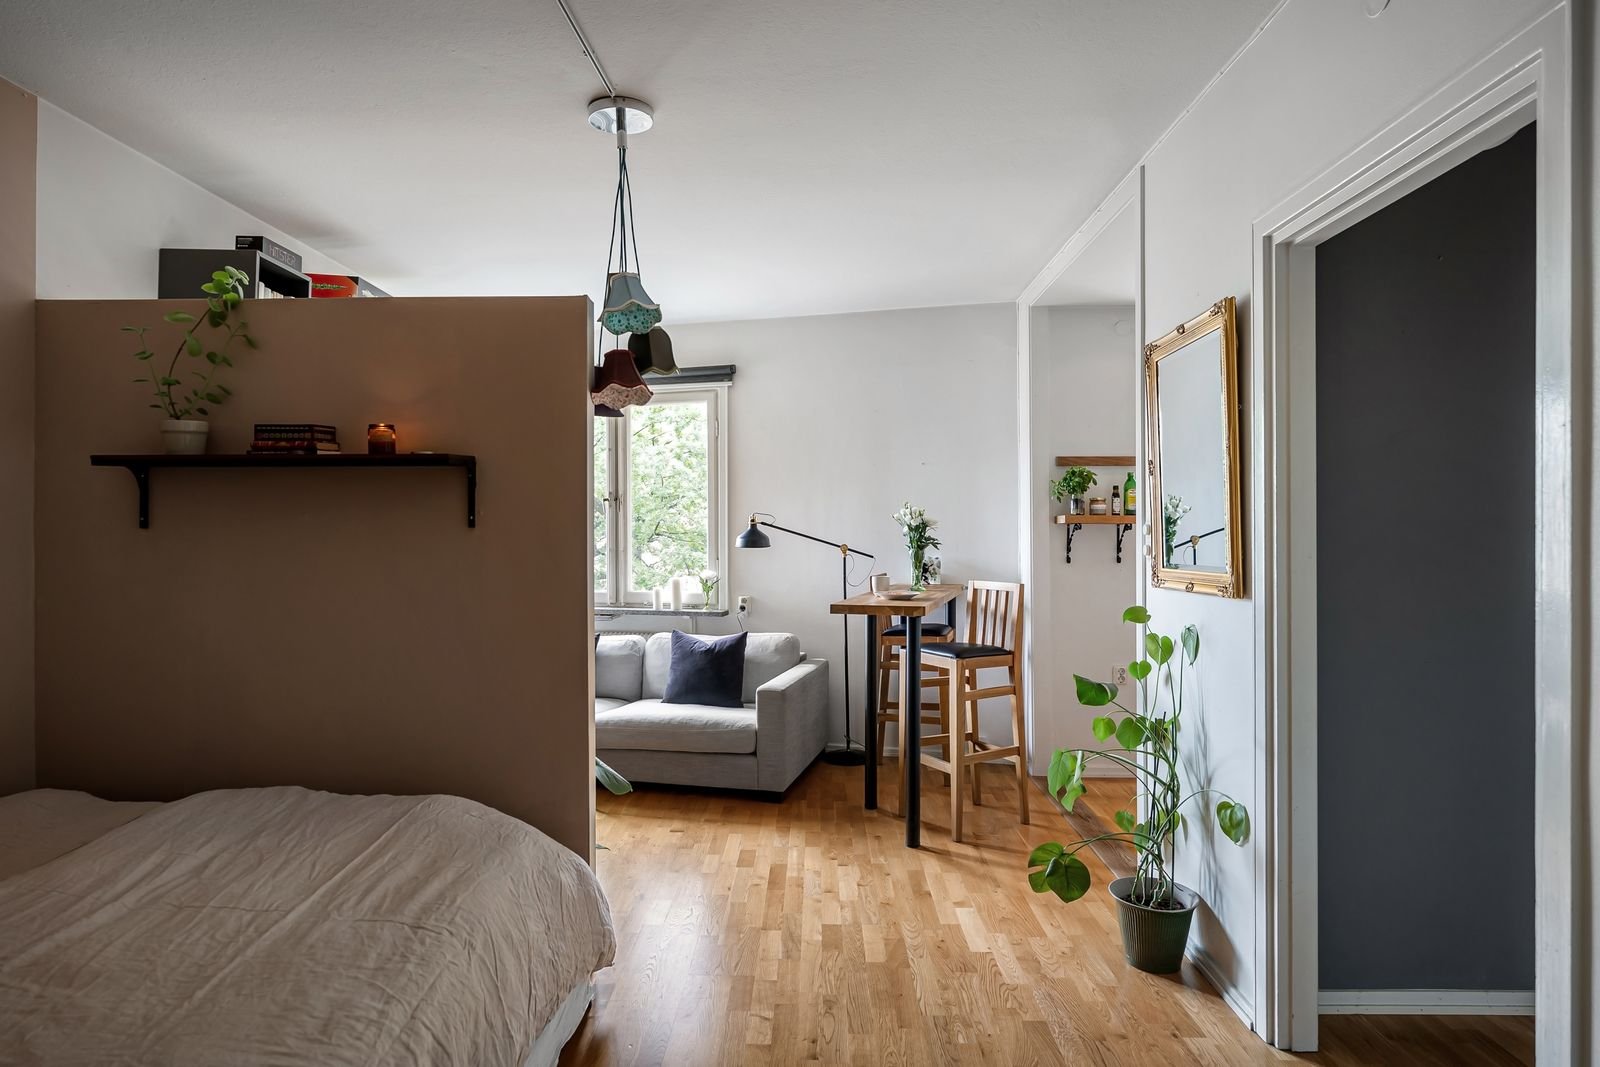
Use rugs, furniture direction and lighting to suggest zones. Test door swings and routes first, and secure any furniture that requires an anti-tip restraint.
In this guide
Test the layout before buying
- Draw the room, doors, windows, radiators and outlets to scale.
- Mark furniture footprints on the floor with tape suitable for the finish.
- Open every door and drawer, pull out the dining chair and walk from bed to exit.
- Keep access to ventilation, heaters and required escape windows clear; check local and building requirements.
- Try the layout with your existing furniture for a week before buying dividers.
For furniture restraint guidance, see CPSC Anchor It.
The biggest mistake in studio apartments is not buying the wrong furniture — it is treating the whole space as one room. The studios that feel calm and organized are divided into clear zones: sleep, live, eat, work. You do not need walls to do it. You need edges.
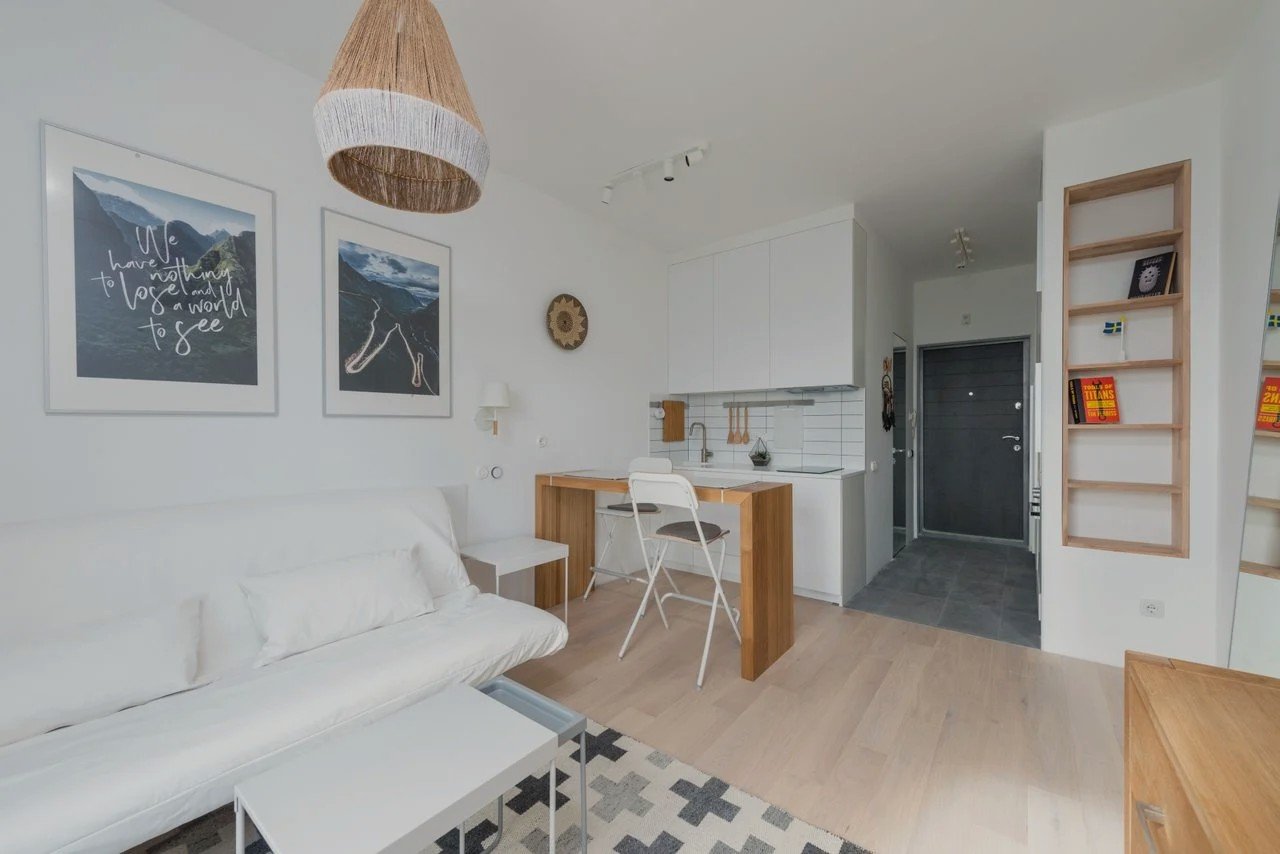
The zoning principle: one function per edge
- Your brain reads a “room” wherever it sees a boundary.
- A rug, the back of a sofa, a bookshelf, a curtain, even a change in lighting temperature — all create boundaries.
- Four or five soft edges and each area feels like its own room, without losing the openness.
Zone 1: The sleep area
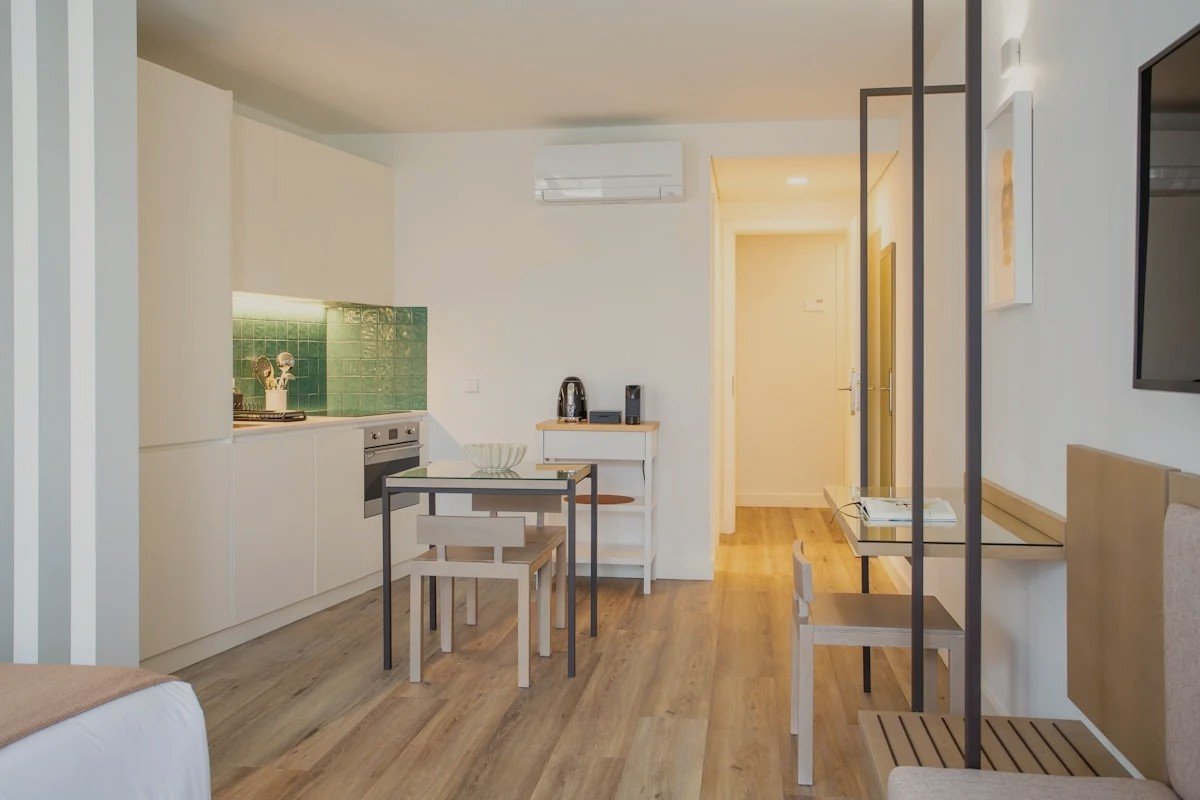
Sleep needs the strongest separation — a visible bed makes the whole studio feel like a bedroom.
- The bookshelf divider: an open-backed shelf can screen the bed, but use required anti-tip restraints and obtain permission for wall anchors. Do not treat a tall freestanding shelf as a safe unanchored divider.
- The curtain wall: a suitable curtain system can provide privacy. Ceiling tracks and tension wires may need approved fixings; do not assume generic adhesive hooks can carry them. Keep fabric clear of heaters and exits.
- The head-height rule: the divider only needs to hide the mattress, not reach the ceiling. Sightline blocked = zone created.
Style the bed itself like a real bedroom — layered, two colors, made every morning. Our budget bedroom formula works identically in a studio corner.
Zone 2: The living area
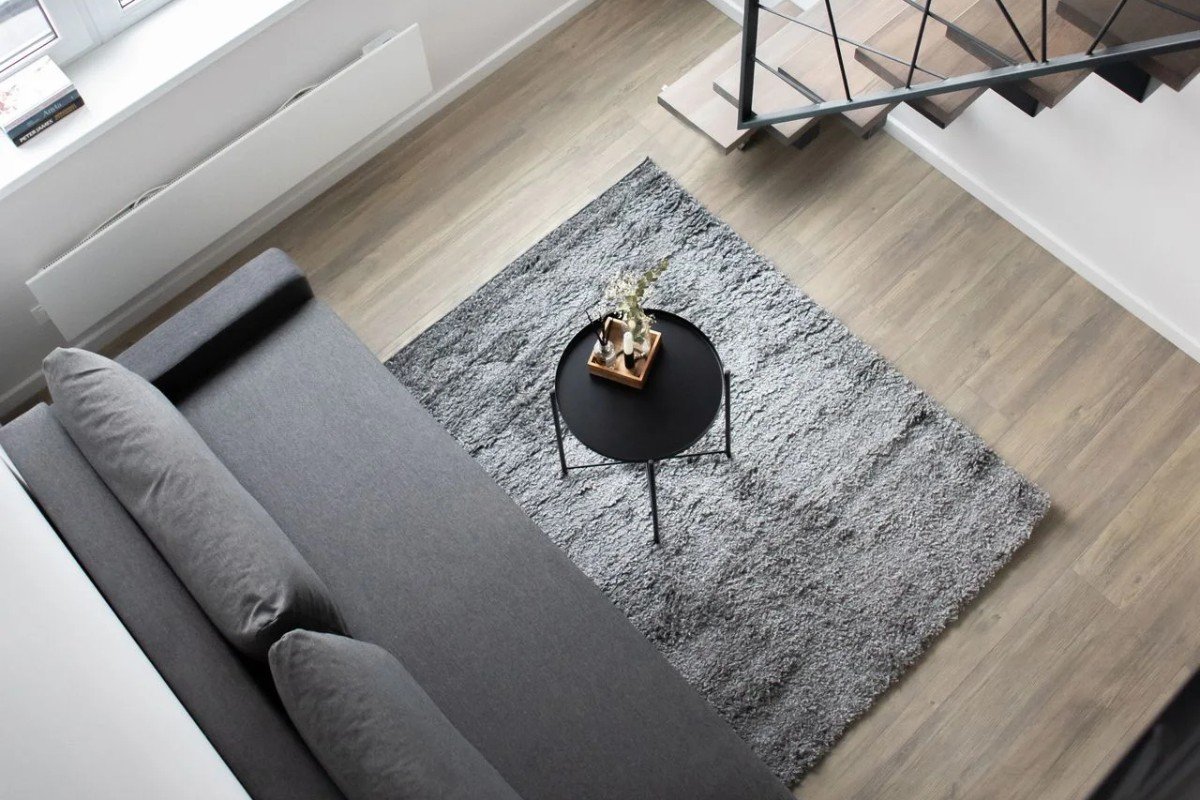
- Float the sofa — its back is your best wall. Face it away from the bed zone.
- Define its territory with a rug (front legs on, always) and light it separately with a floor lamp.
- Keep furniture leggy — visible legs let light pass underneath so the small footprint never feels stuffed.
- Every trick from our budget living room guide applies here.
Zone 3: The eating spot
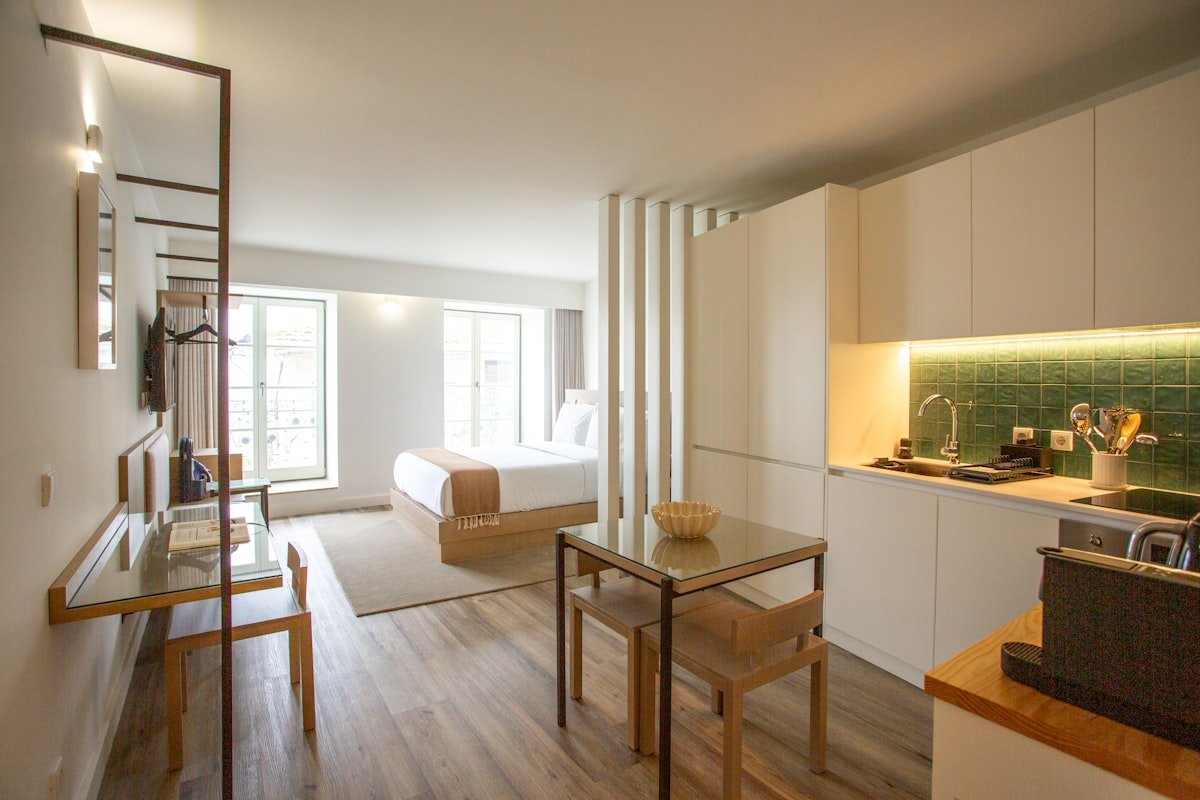
- Even a tiny 24-inch bistro table changes how a studio lives — meals stop happening on the couch.
- It doubles as extra prep space.
- Best positions: against a window, or as a bridge between the kitchenette and the living zone.
- A plug-in pendant lamp or a battery candle marks it as “dining” after dark.
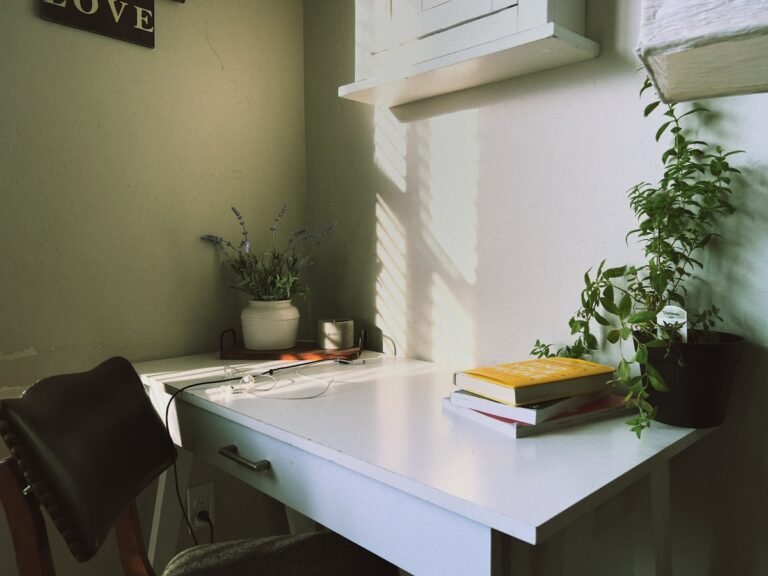
Zone 4: The work corner
- The desk goes wherever the bed is not visible — working while looking at your bed is bad for focus.
- A 30-inch desk, wall-facing orientation, and a dedicated task lamp are enough.
- We built a whole home office nook guide around corners exactly like this.
The connective tissue: light and color
- One palette across all zones — zones divide the space; a consistent 3-color palette keeps it cohesive.
- One lamp per zone. At night, light only the zone you are using — the studio instantly “shrinks” to a cozy single room.
- Rugs as room labels. Two minimum: living and sleep. They can be cheap; they cannot be tiny.
📐 Sample 400 sq ft layout
Entry opens into the kitchenette: bistro table at the near window. Sofa floats mid-room. Behind it, the bookshelf divider, then the bed against the far wall — invisible from the door. Place the desk clear of the entry door swing and escape route. Example $200 cap, assuming furniture already exists: rug $80, secondhand low divider $50, lamp $30, curtain/privacy option $25, reserve $15. Availability, tax, delivery and approved installation can raise costs.
Zone first, decorate second. Once the edges exist, every decorating dollar lands twice as hard — and the room-by-room plans in our first apartment guide slot straight into each zone.