Plan the arrangement on the floor, weigh every frame and match the fixing to the surface and lease. Avoid adhesive-hung frames above beds and allow access to removal tabs.
In this guide
A gallery wall is simply one wall covered in a group of framed pictures — art, photos, prints — arranged together like a mini art gallery. It can go in any room: over suitable furniture or along a hallway. Here is how to plan a lightweight display and select fixings permitted by your lease. No adhesive guarantees damage-free removal.
Step 1: Pick a layout
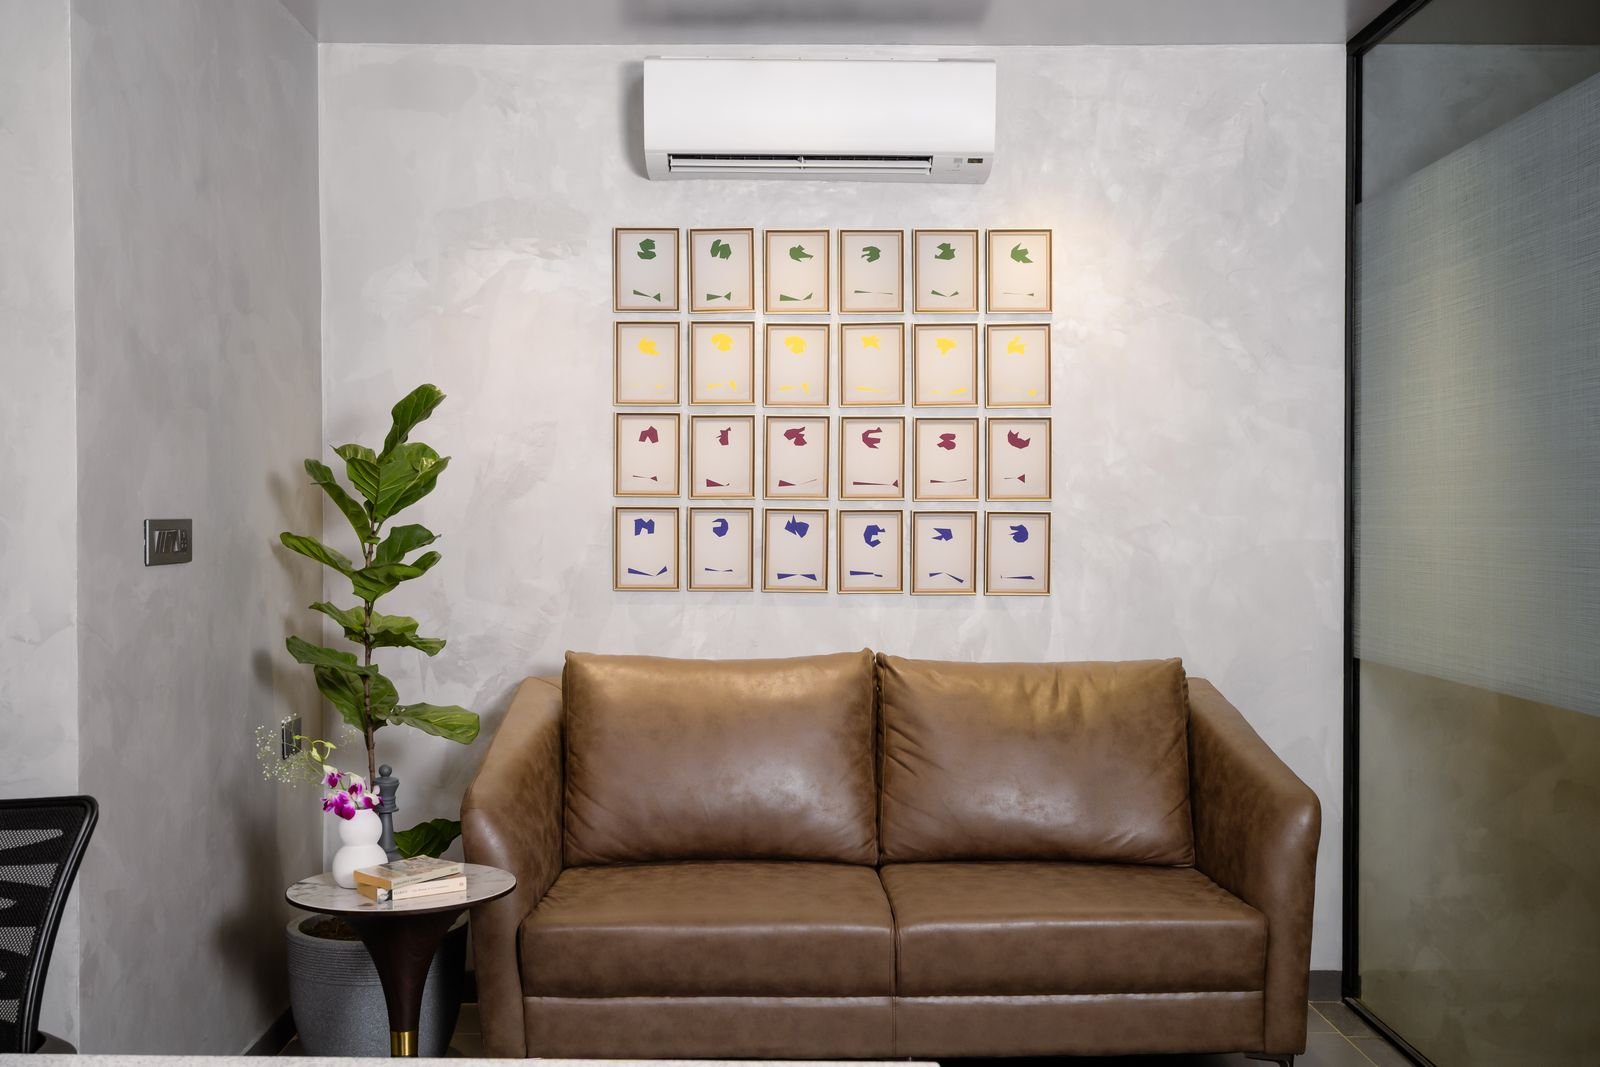
- Grid: same-size frames, even spacing. Calm and foolproof.
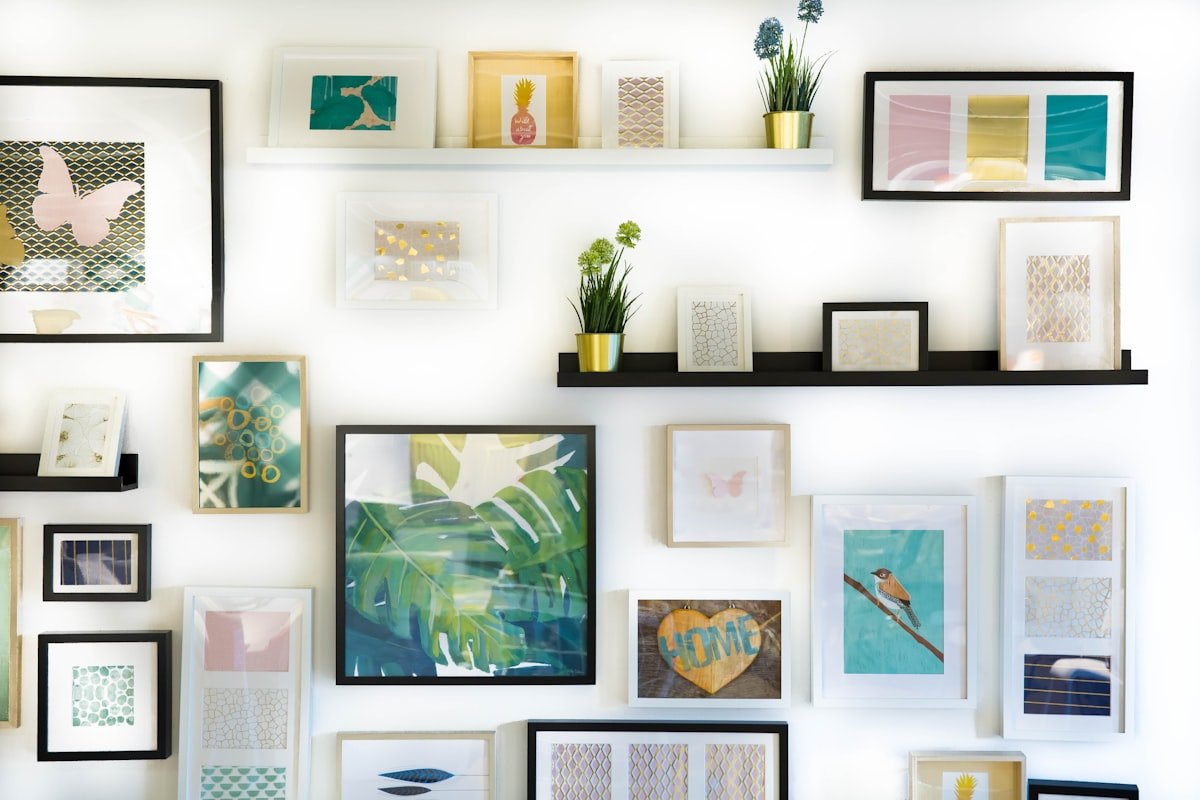
- Organic cluster: mixed sizes around one big central piece. Collected-over-time look.
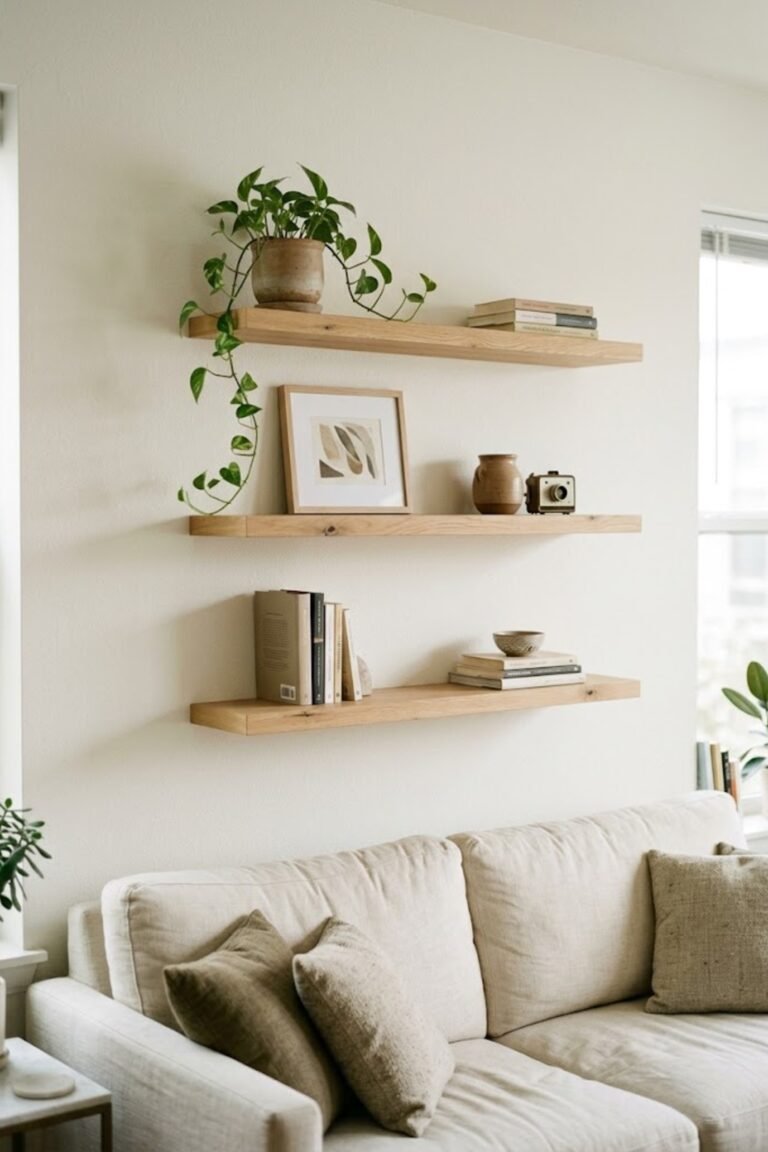
- Ledge: frames leaned on a picture shelf. Swap art anytime.
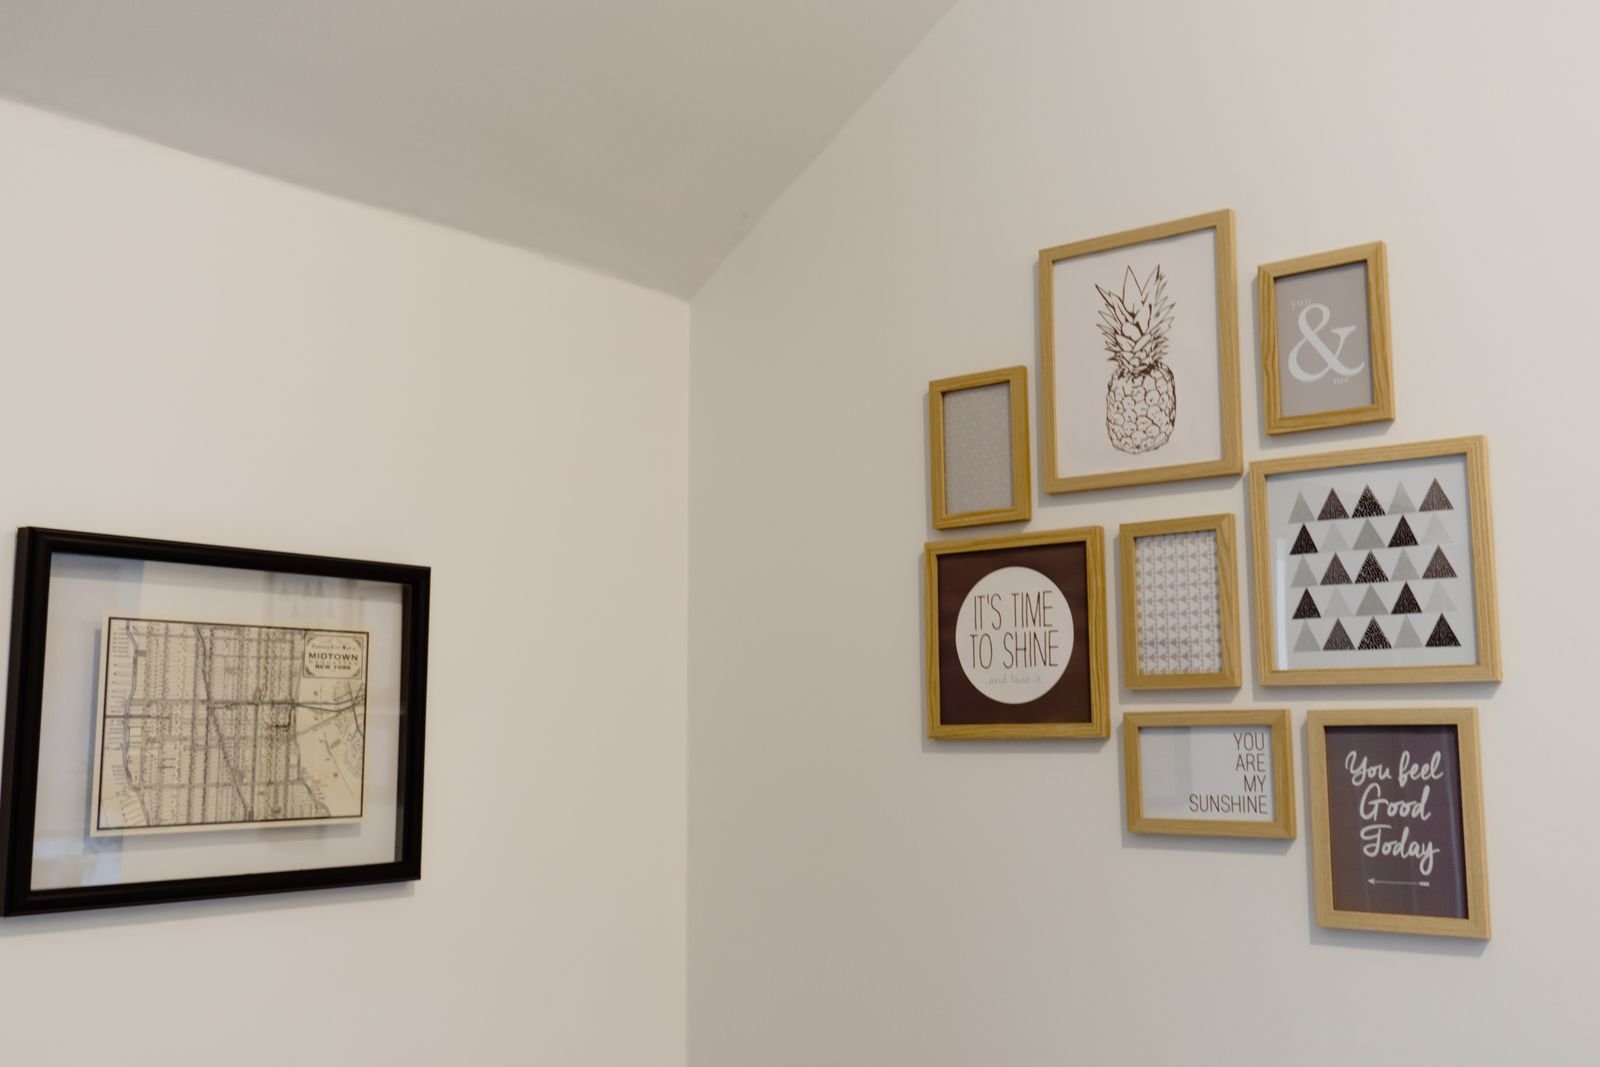
Step 2: Get art for almost free
- Free public-domain art from museum websites (The Met, Rijksmuseum) — print locally.
- Your own photos in black and white, printed large.
- Thrifted frames — keep the frame, swap the art inside.
- Flat finds: book pages, record sleeves, pressed leaves.
🎨 Money saver
Thrifted frames + one can of spray paint = a matching set for almost nothing.
Step 3: Plan before you hang
- Lay the frames out on the floor and photograph it.
- Cut paper shapes, tape them to the wall, live with it for a day.
Step 4: Choose suitable fixings
- Adhesive strips: weigh each assembled frame, check surface suitability and use the exact package instructions for strip number, preparation, application and waiting time.
- Adhesive hooks: use only a hook specifically rated for the frame weight and hanging hardware.
- Press-in hangers: tiny pinhole, easy to fill — check your lease first.
⚠️ Removal check
Removal day: follow the exact release directions, supporting the frame and allowing room for the tab to stretch. Stop if a tab breaks rather than prying at the paint.
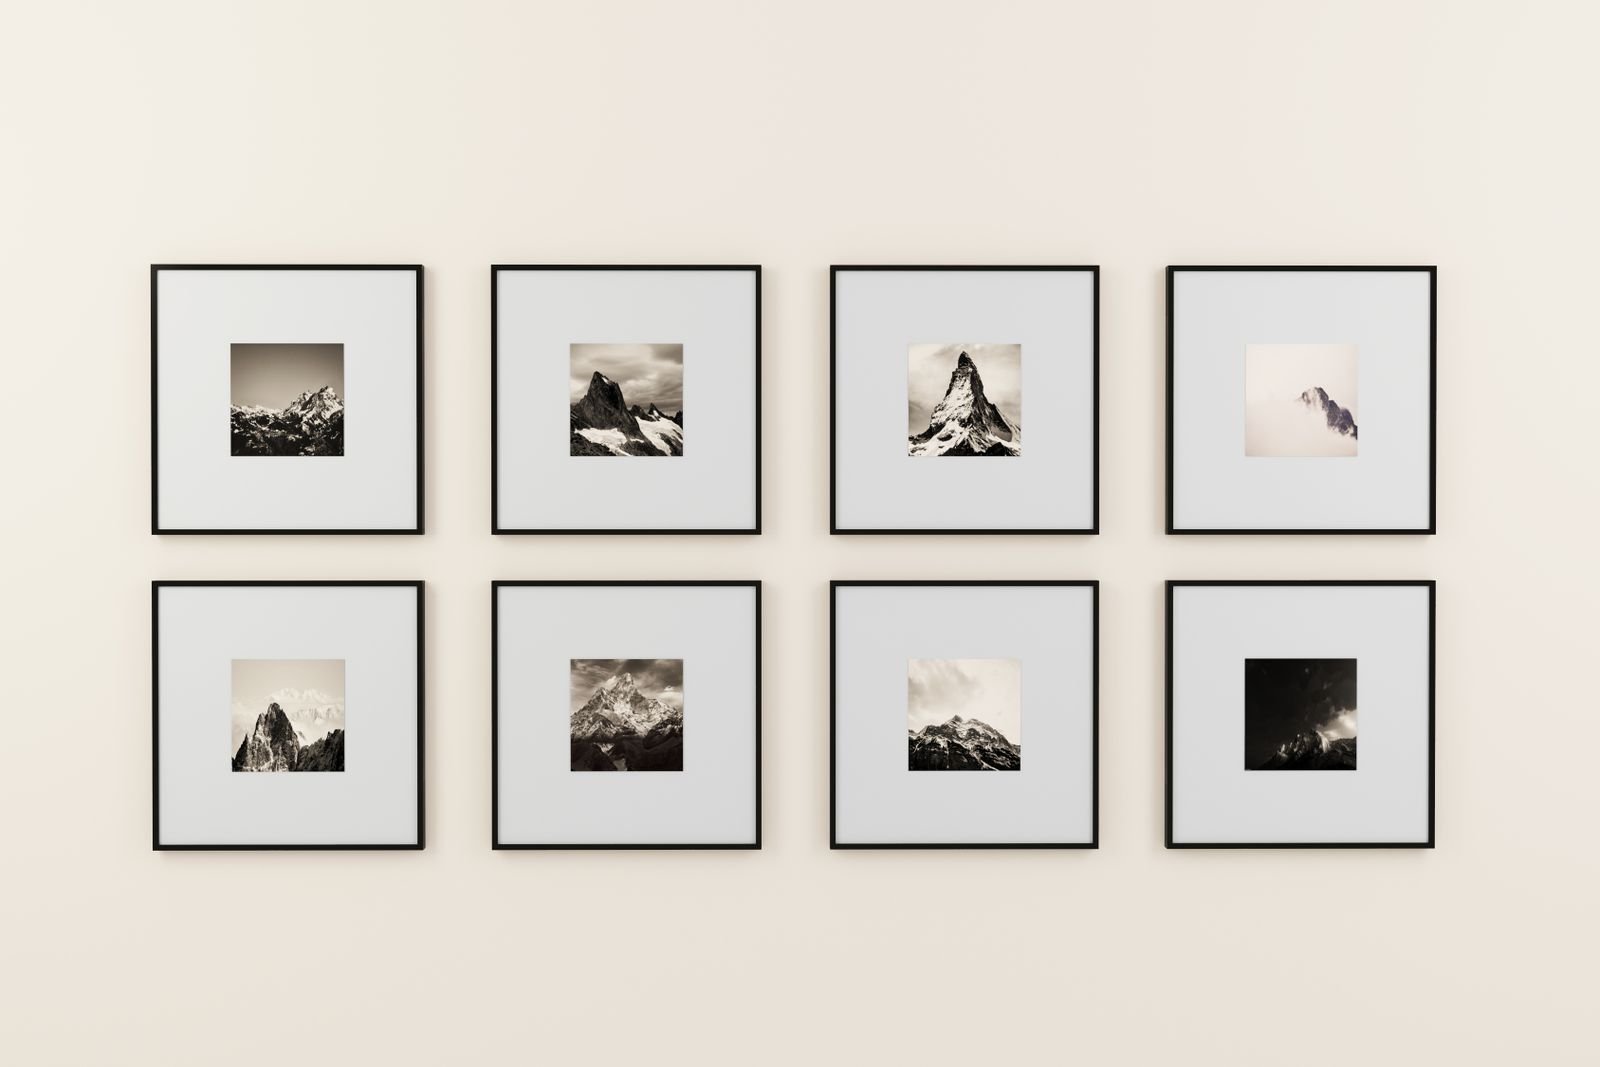
Step 5: Spacing and height
- Center of the arrangement at eye level (about 57–60 inches from the floor).
- Leave 6–10 inches above furniture.
- Keep gaps even — tighter looks more expensive.
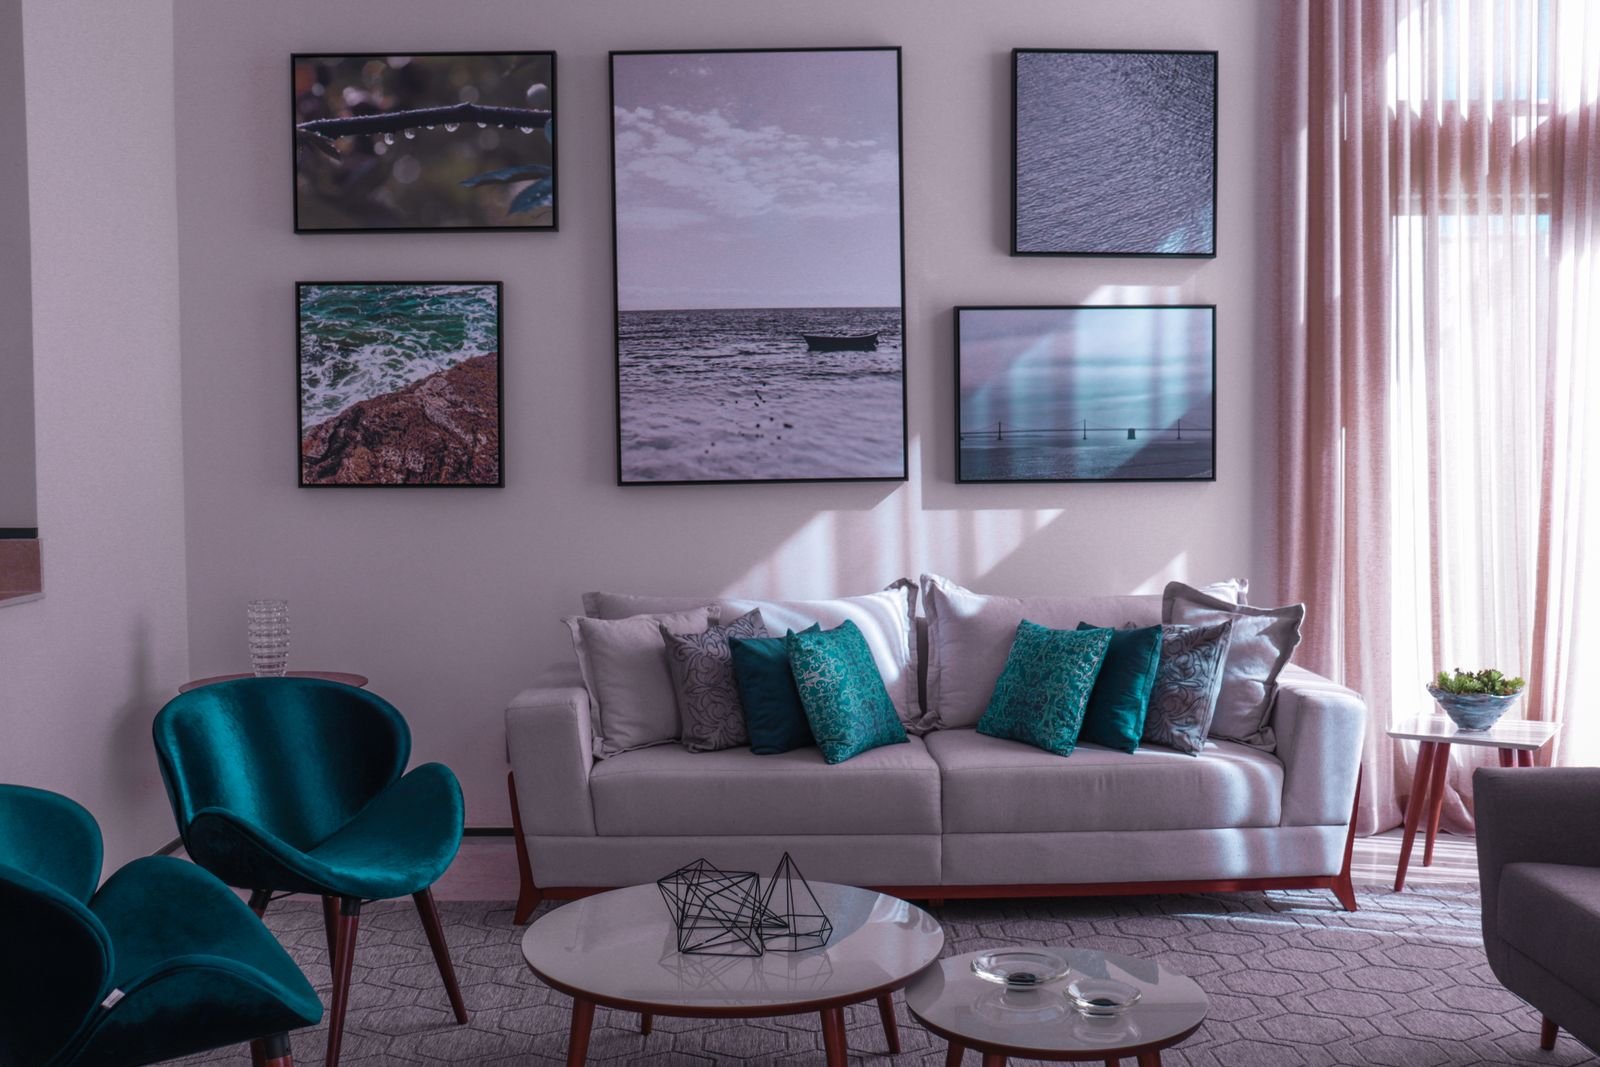
Best spots for a gallery wall
- Over the sofa — see our living room ideas.
- Avoid adhesive-hung frames above beds; choose another wall — bedroom guide here.
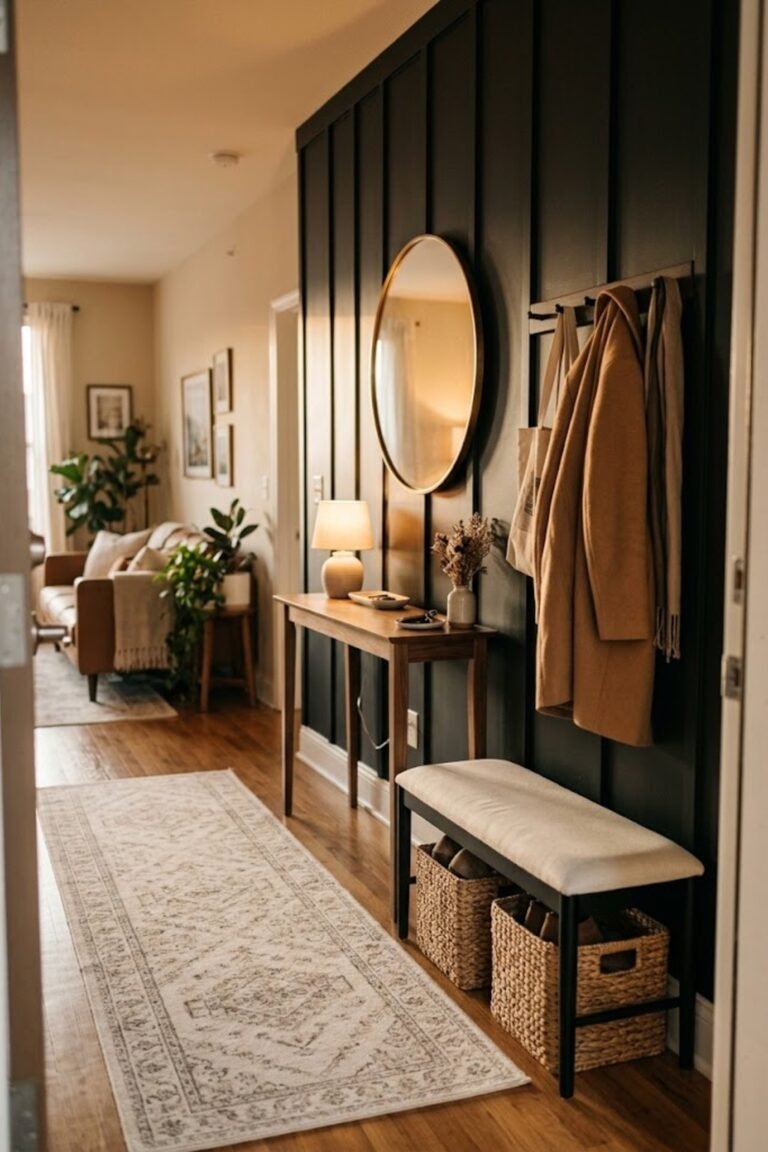
- Along a hallway wall you pass every day.
One planned wall, lightweight frames and appropriate fixings — and it all comes with you to the next place.
Pre-install checklist
- Check the lease and obtain permission where needed.
- Weigh the frame with its glazing and artwork; use lightweight alternatives where appropriate.
- Do not use picture-hanging strips on wallpaper or for irreplaceable pieces, or above beds.
- Picture ledges may require wall anchors; generic adhesive strips are not a shelf support.
- Test temporary layout tape on an inconspicuous area first.
See the Command picture-hanging instructions. Other brands and products can have different limits.