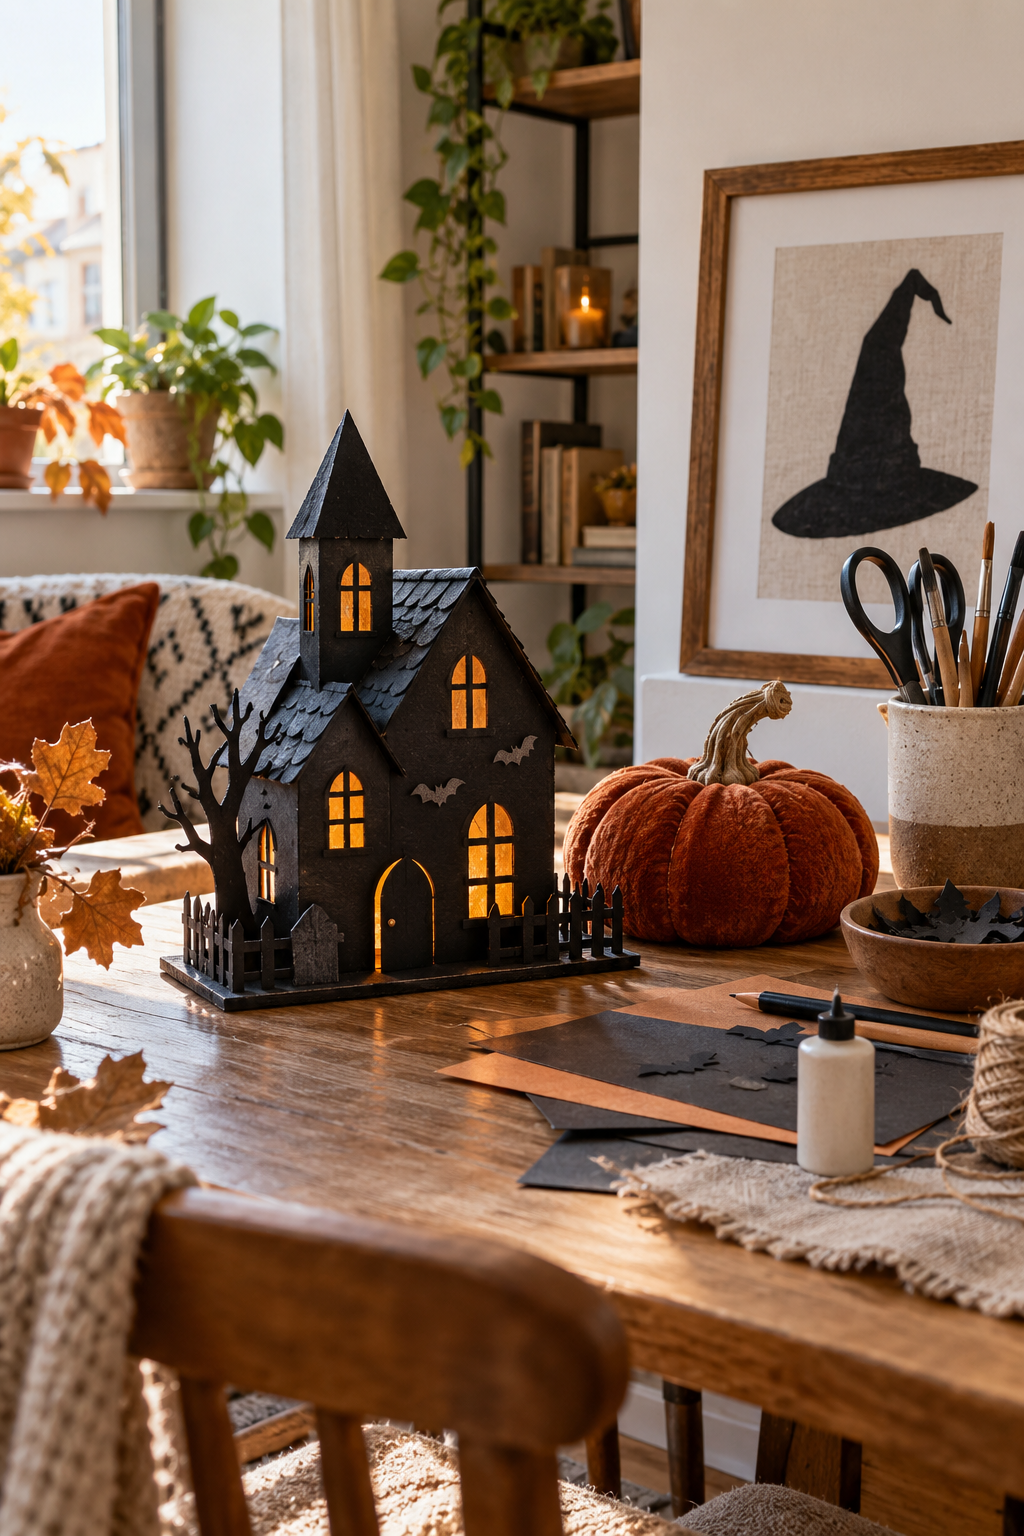
DIY Halloween decor is most satisfying when the project uses simple materials and has a clear place to go when it is finished. You do not need a large craft stash or a room full of new supplies. These 12 budget DIY Halloween decor ideas focus on small, reusable pieces you can make for shelves, tables and cozy apartment corners.
Image note: Images accompanying this guide are AI-generated inspiration visuals, not photographs of tested craft projects. Use them as styling references and adapt the dimensions and materials to your supplies.
Before you start: check your supplies
Look for cardstock, clean cardboard, spare ribbon, old frames and fabric remnants before buying anything. Choose two or three projects that fit the surfaces you want to decorate. Protect your work area, follow paint and adhesive instructions and supervise cutting tools when children are involved. Keep decorative crafts separate from food, hot lights and real flames.
12 budget DIY Halloween decor ideas
1. Build a miniature cardboard haunted house
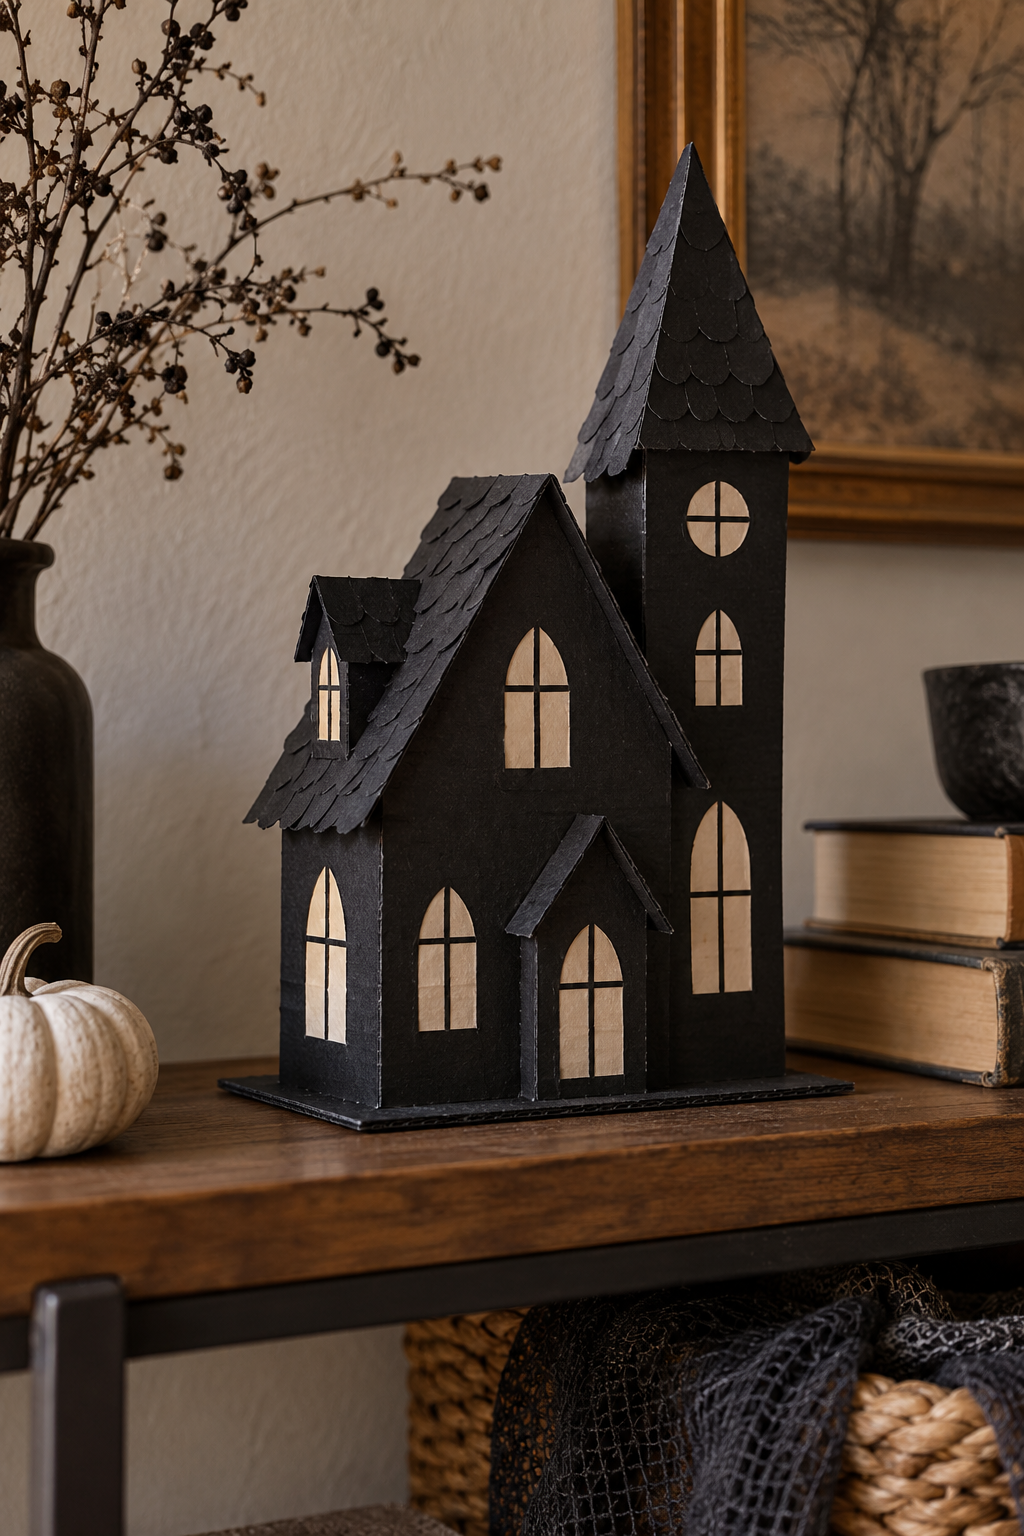
Cut a small house silhouette from clean cardboard, fold side tabs to help it stand and draw windows with a pale marker. A crooked roofline gives it character without needing complicated construction. It makes a strong shelf decoration because the outline is easy to recognize.
Make it work at home: Sketch the design on scrap paper first and keep the base broad enough to stand securely. Use scissors appropriate for the material; adults should handle difficult cuts. Place the finished house on a dry shelf without putting a candle inside.
2. Make accordion-fold paper pumpkins
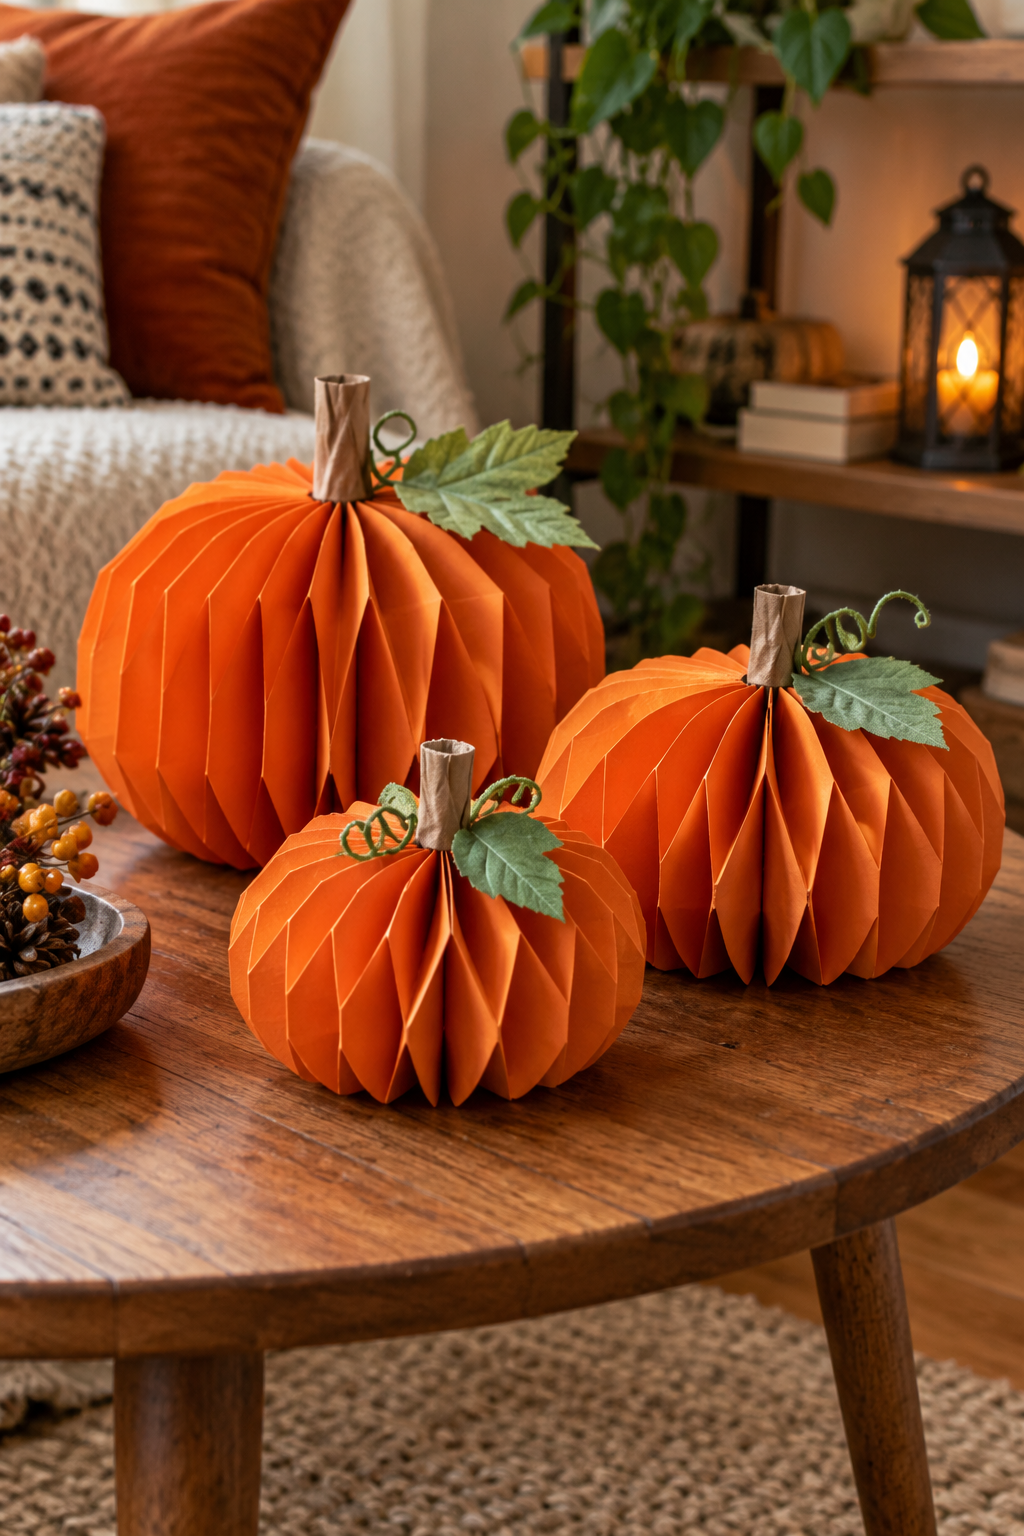
Fold strips of orange paper into small accordion fans and join them into rounded rosettes. Add a paper stem and a green leaf for a pumpkin shape. Different paper shades give a group of two or three pumpkins depth while keeping the materials simple.
Make it work at home: Make one small version first to check the folds and join. Let adhesive dry as directed before displaying it. Stand finished pumpkins on a stable surface or use only a permitted suitable hanging method.
3. Wrap a cardboard wreath ring with fabric scraps
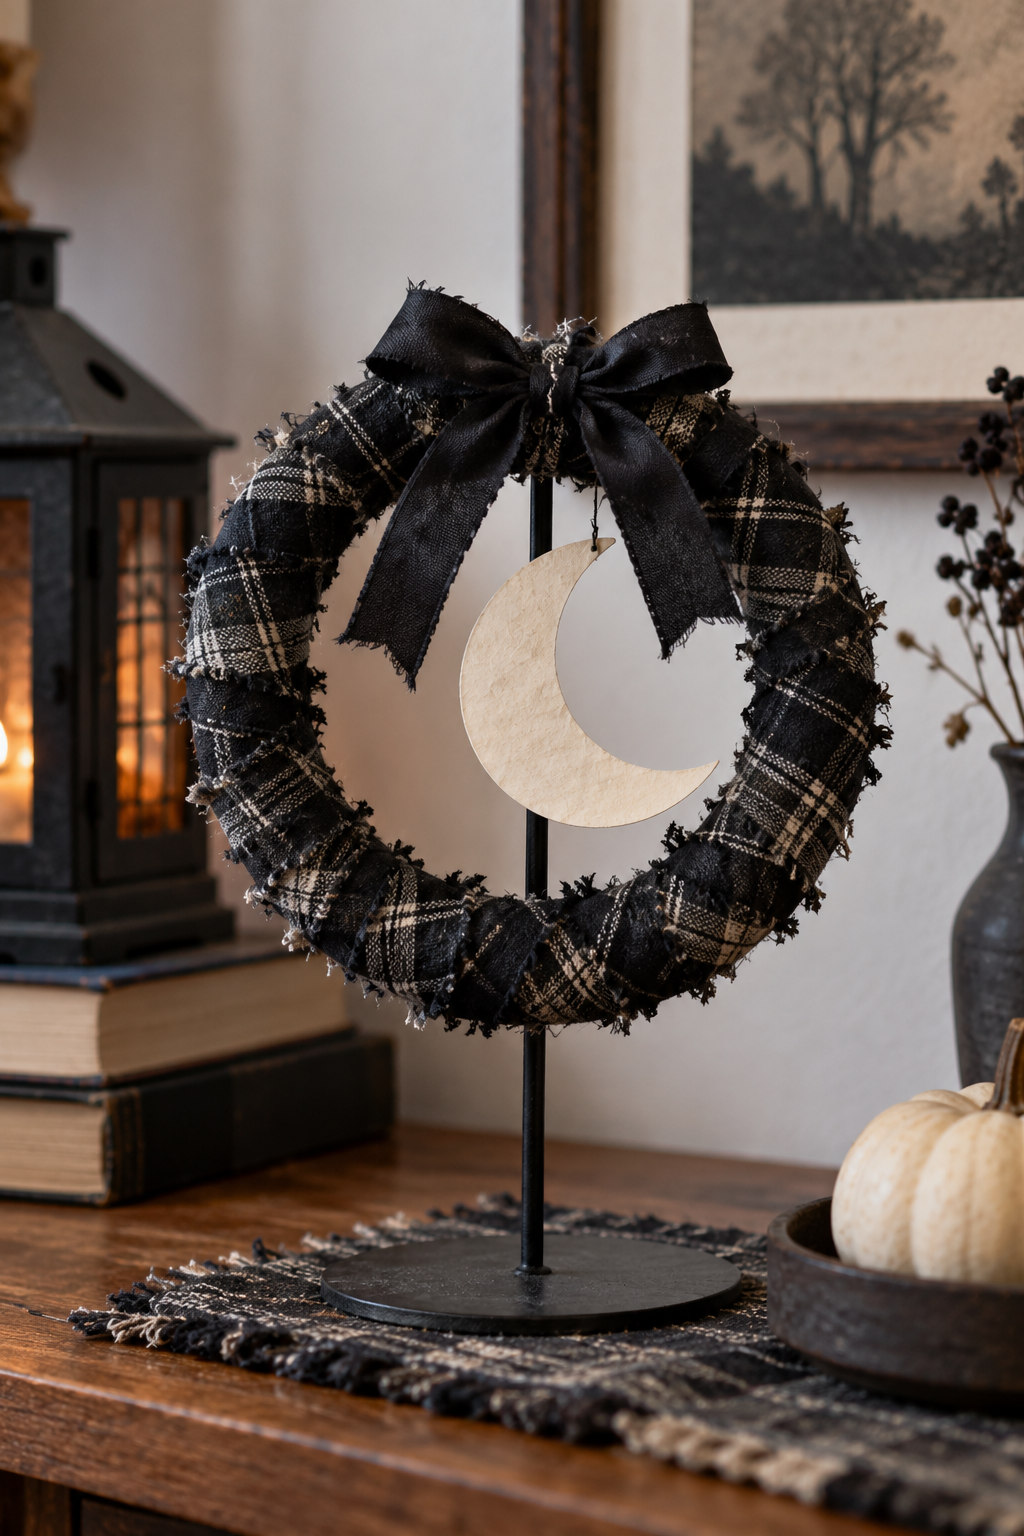
A small cardboard ring wrapped in dark or checked fabric can become an indoor Halloween wreath. Tie a short ribbon bow at the bottom and add one lightweight paper moon. The fabric gives a softer finish than painting the whole ring.
Make it work at home: Use a sturdy clean base and short fabric strips that stay secure. Keep the wreath indoors and away from moisture. Display it on a stand if attaching it to a door or wall is unsuitable.
4. Paint a faux pumpkin with simple dots
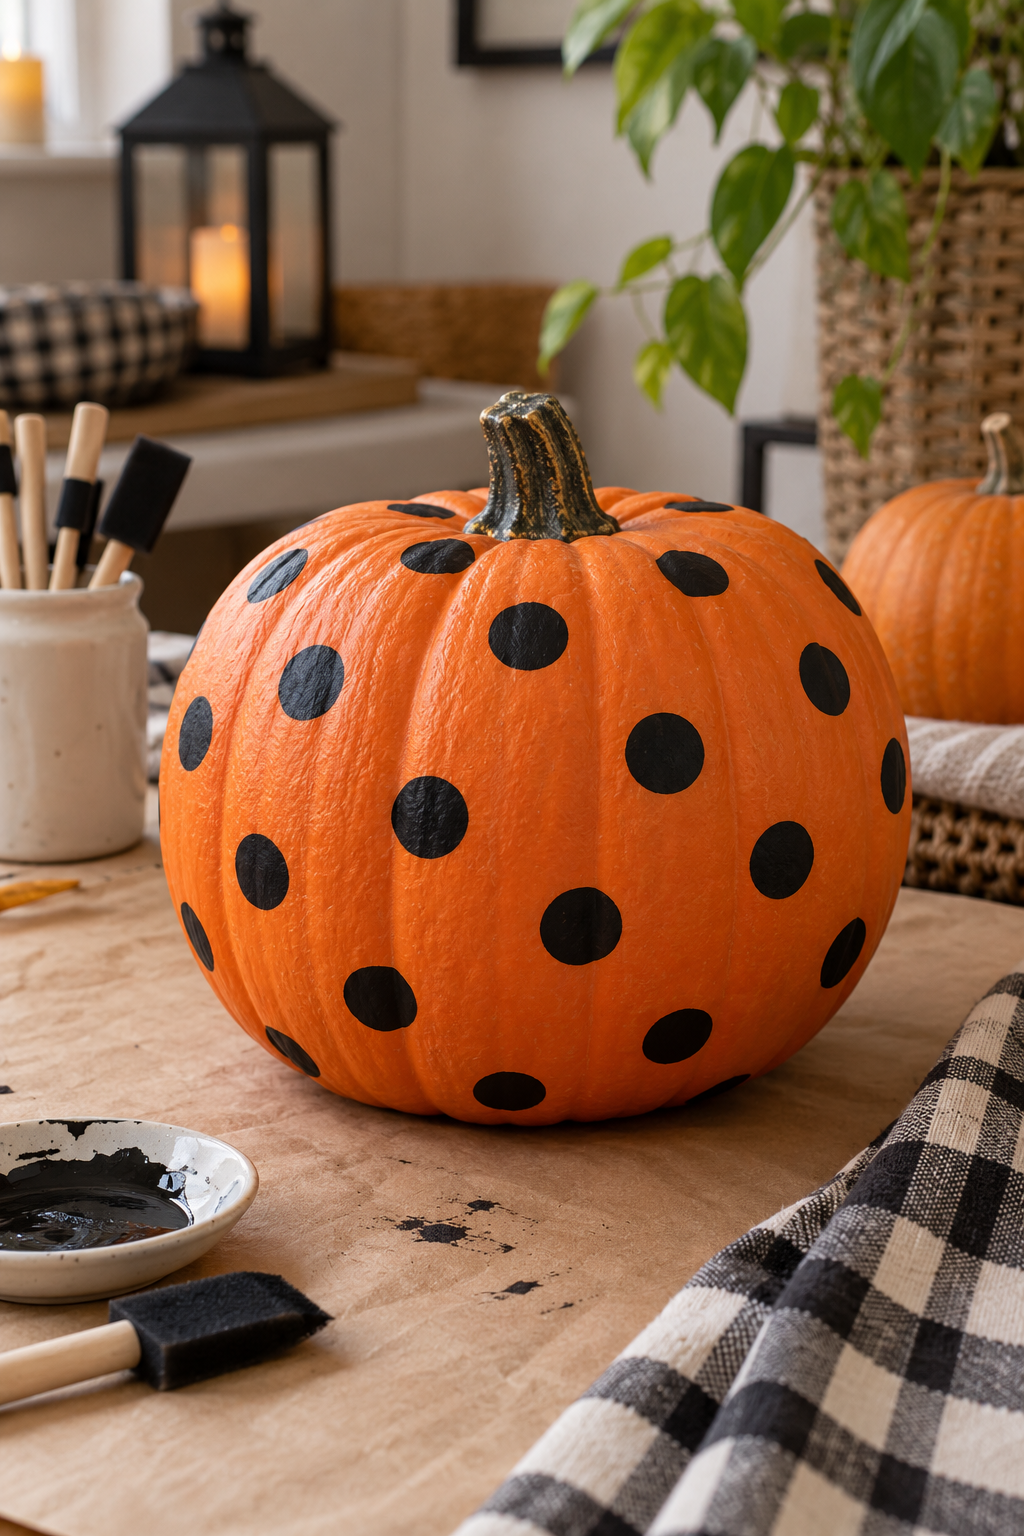
A reusable faux pumpkin can become a custom decoration with a restrained dotted pattern. Cream dots on a dark surface or black dots on an orange pumpkin are easy to coordinate with existing decor. A simple repeated mark looks finished without needing detailed drawing skills.
Make it work at home: Confirm the paint suits the pumpkin material and follow preparation instructions. Work in the ventilation the product requires and let the finish dry fully. Protect the table underneath while you paint.
5. Turn a cereal box into a standing tombstone
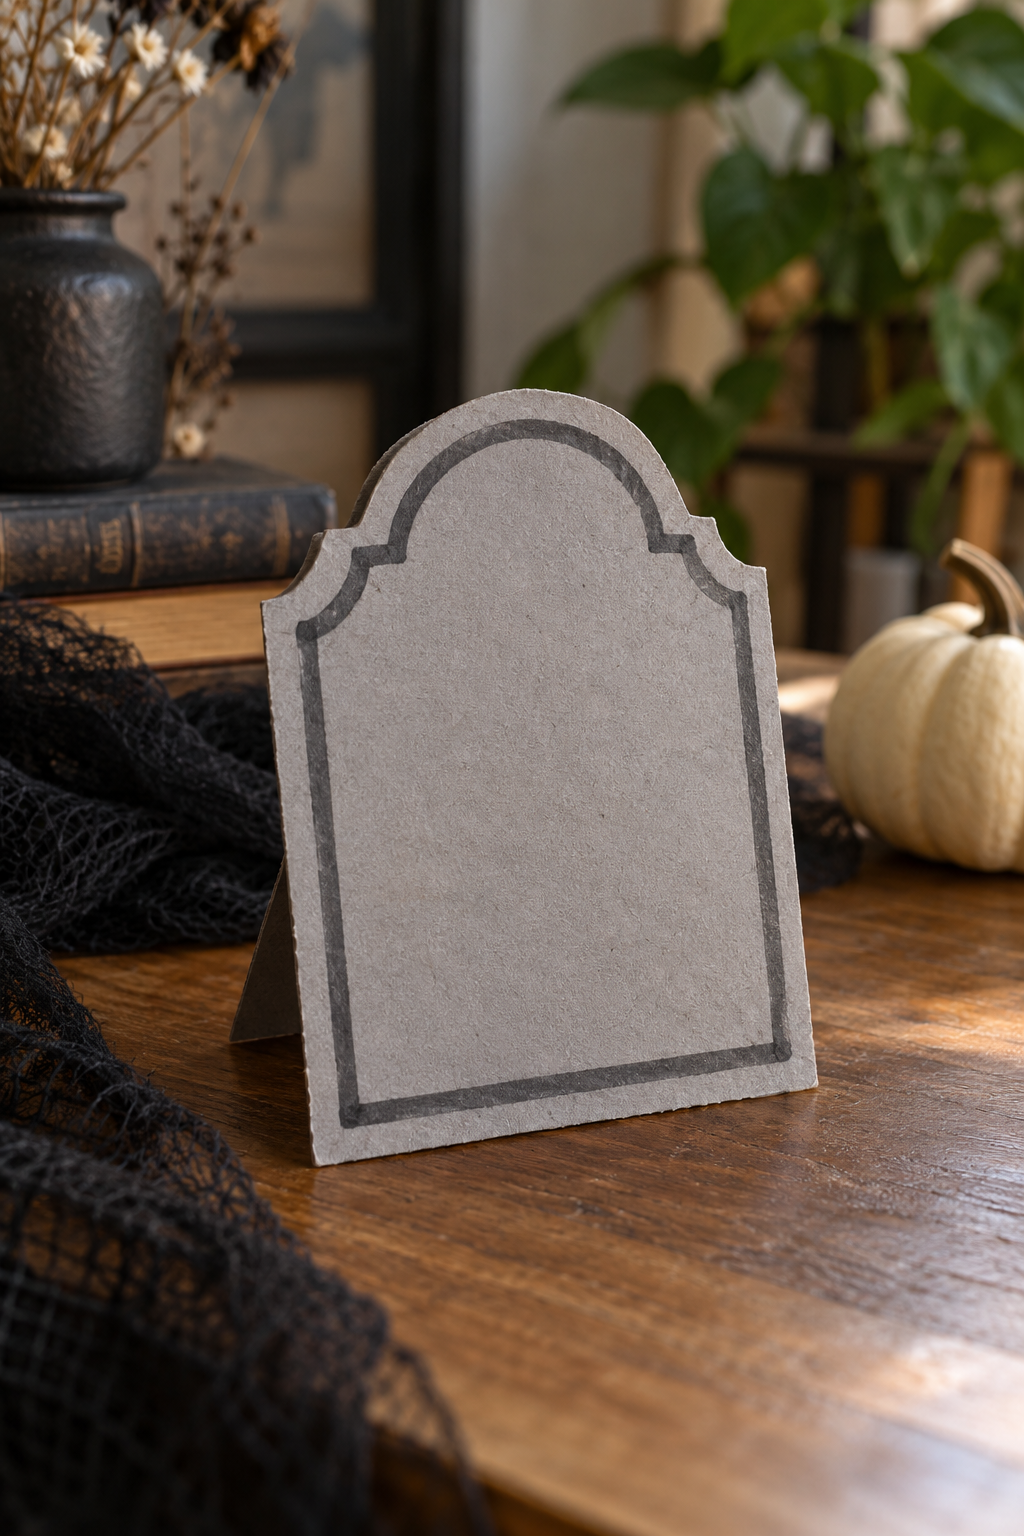
Clean packaging cardboard can form a small tabletop tombstone with folded support tabs. Paint or cover it in gray paper, then add a simple border and a playful decorative mark. Keep it miniature so it fits on a shelf instead of needing a floor display.
Make it work at home: Use clean dry packaging and make the rear support broad enough to hold the shape. This is indoor decor rather than a weatherproof outdoor sign. Let paint dry before placing it against furniture or books.
6. Create a Halloween silhouette in a reused frame
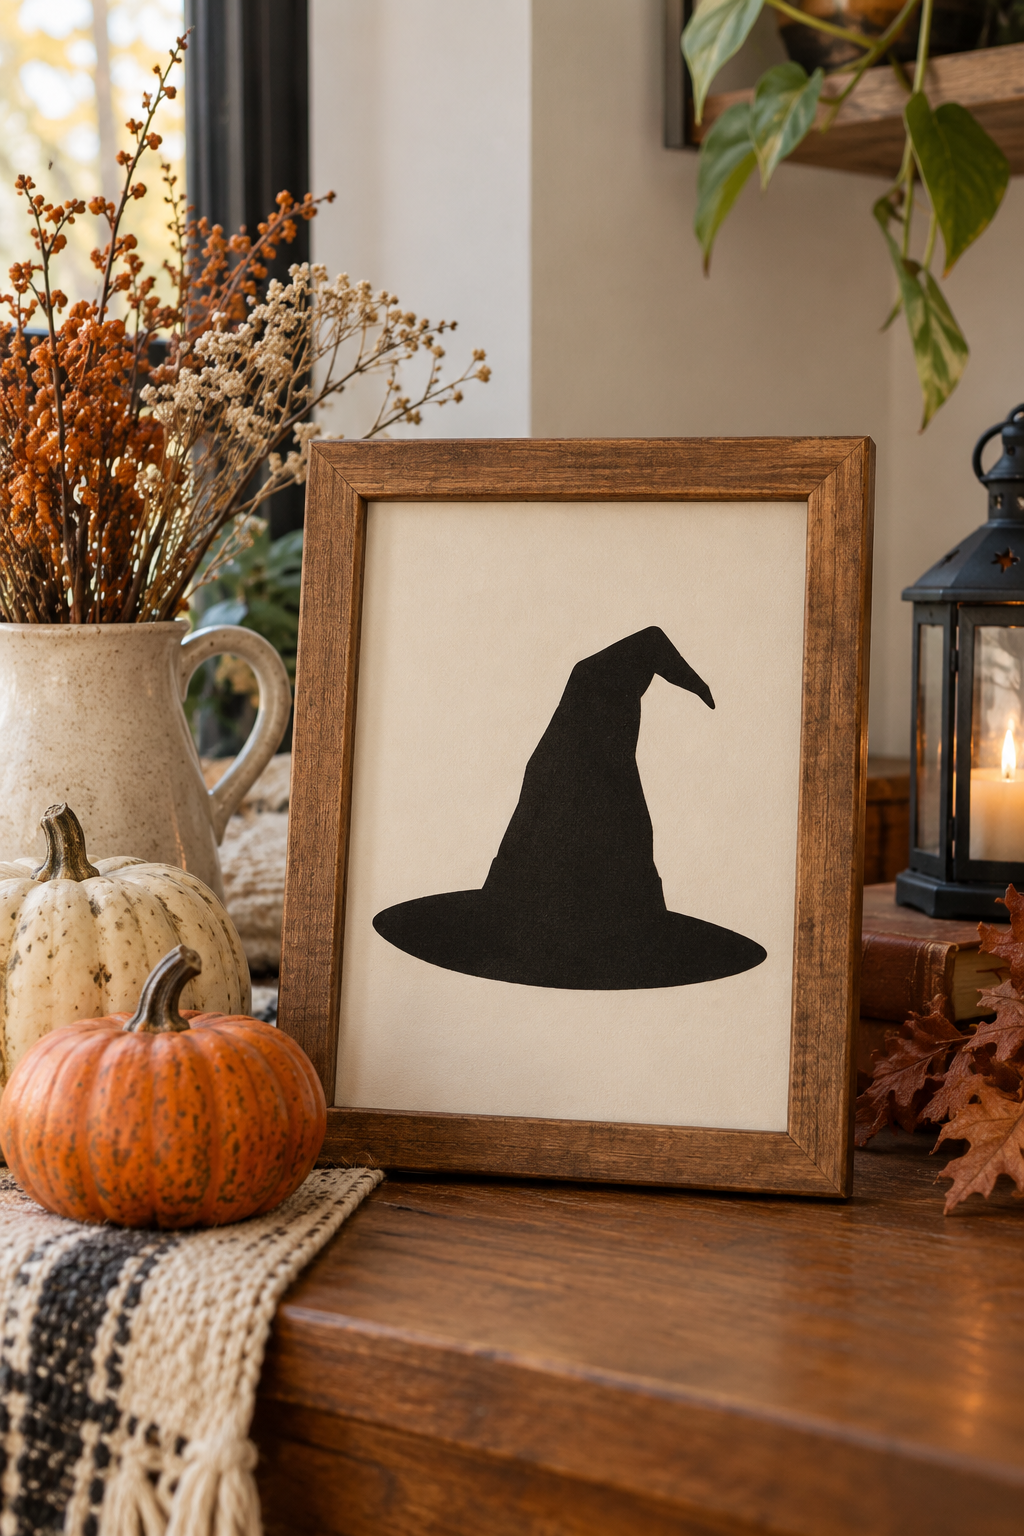
Cut a witch hat silhouette from black paper and place it against a cream background inside an existing frame. The crisp outline creates a clear seasonal accent without a large project. A standard frame is useful because it can return to everyday artwork afterward.
Make it work at home: Trace the frame opening before cutting your backing. Keep the original print safe and avoid permanent changes to the frame. Use a stable tabletop position if you cannot hang it.
7. Make felt pumpkin coasters for display
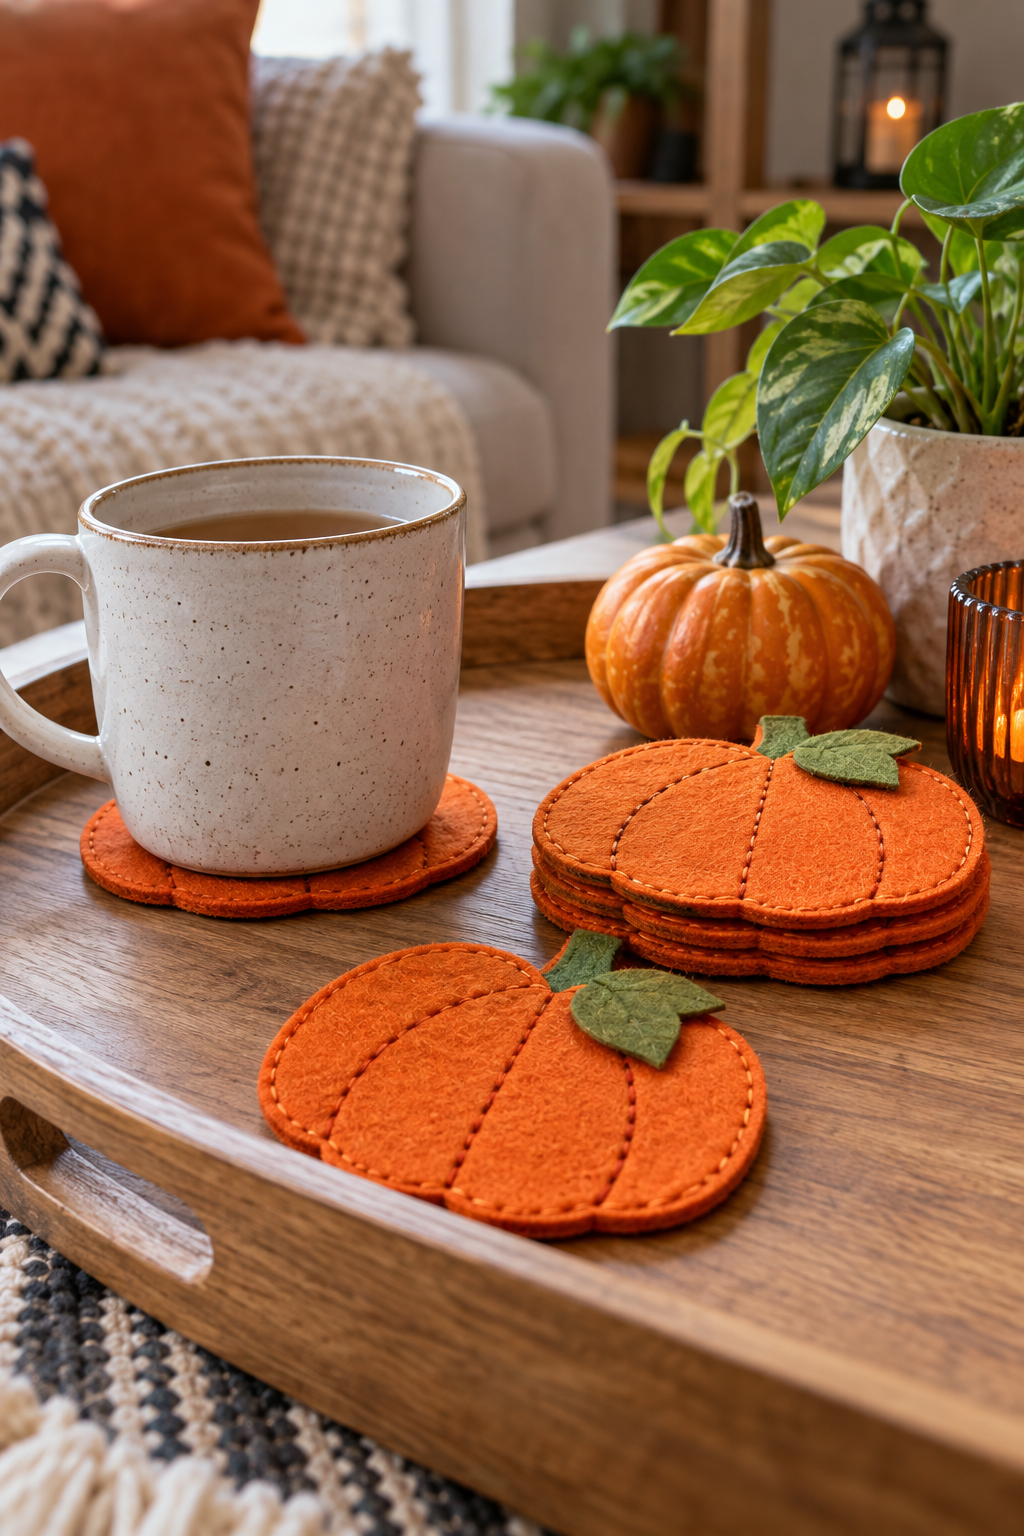
Simple felt circles with stitched or drawn segment lines can become pumpkin-shaped decorative coasters. A tiny green felt leaf adds the finishing detail. A small stack looks cheerful on a tray and uses less fabric than a larger sewing project.
Make it work at home: Use a template so the shapes are consistent and keep cutting scraps contained. Treat them as decorative mats unless your materials are appropriate for your intended cup temperature and surface. Never use craft felt as a heatproof trivet.
8. Fold a little black-cat shelf sitter
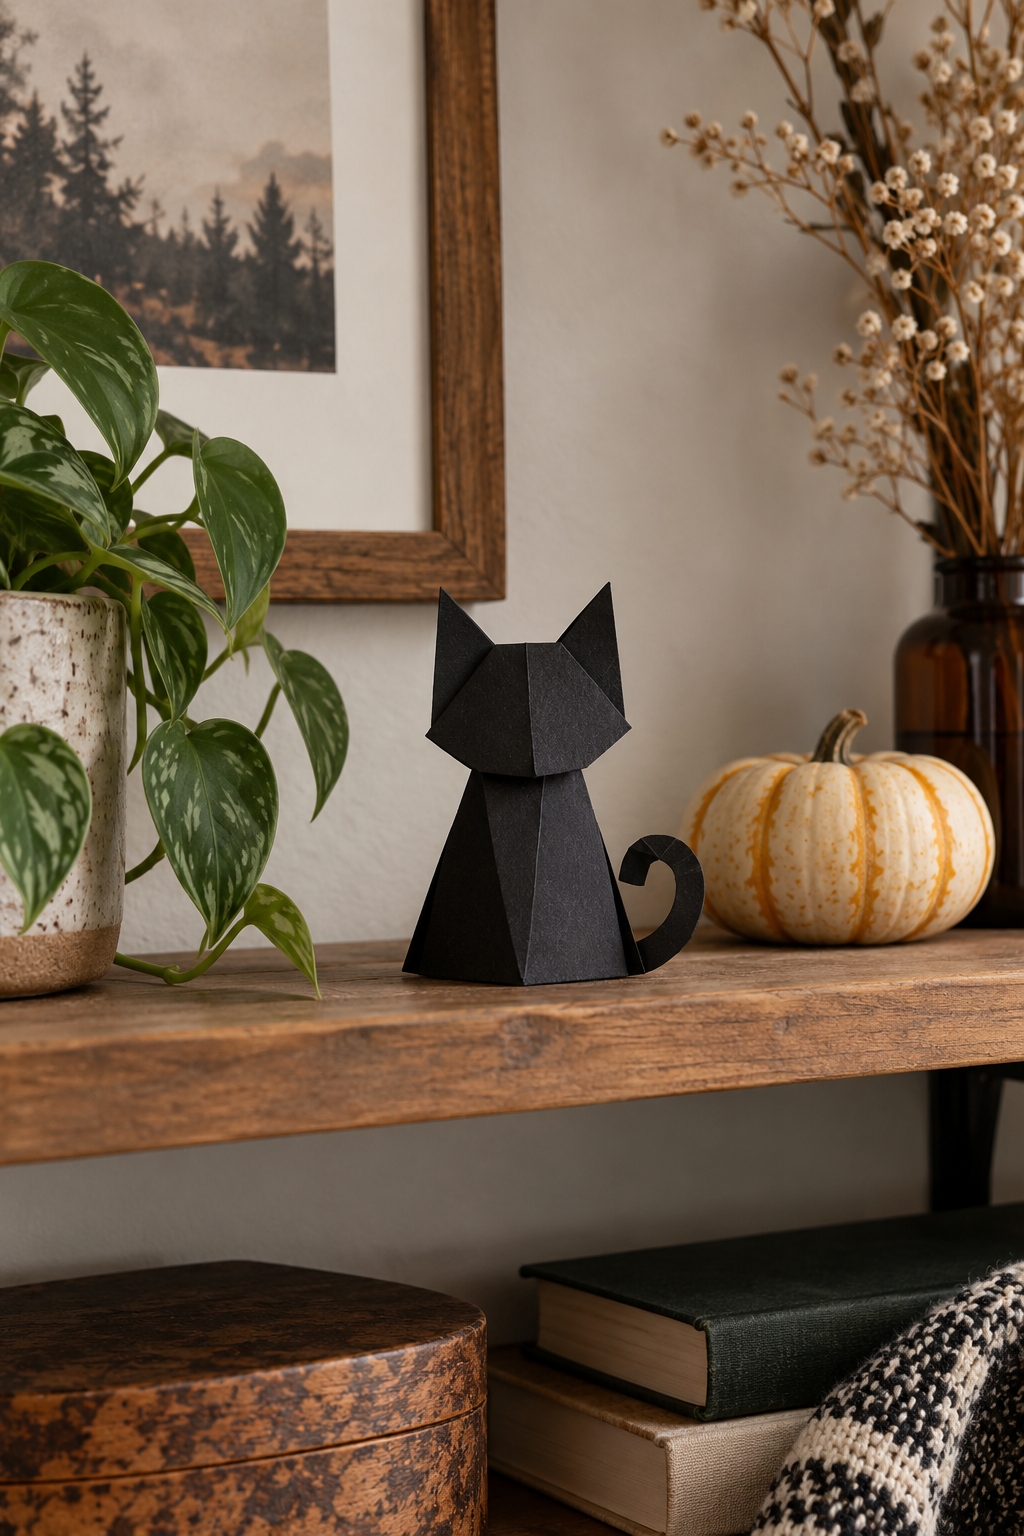
A folded paper cat with pointed ears and a curled paper tail makes a playful shelf decoration. Start with a simple standing card shape and attach the ears before adding the face. Matte black cardstock gives the finished piece a clean silhouette.
Make it work at home: Keep the tail short enough that it does not snag as you reach for nearby items. Use a flat standing base and let glue dry completely. Put small craft pieces away if children or pets can access the shelf.
9. Make a moon garland from scrap card
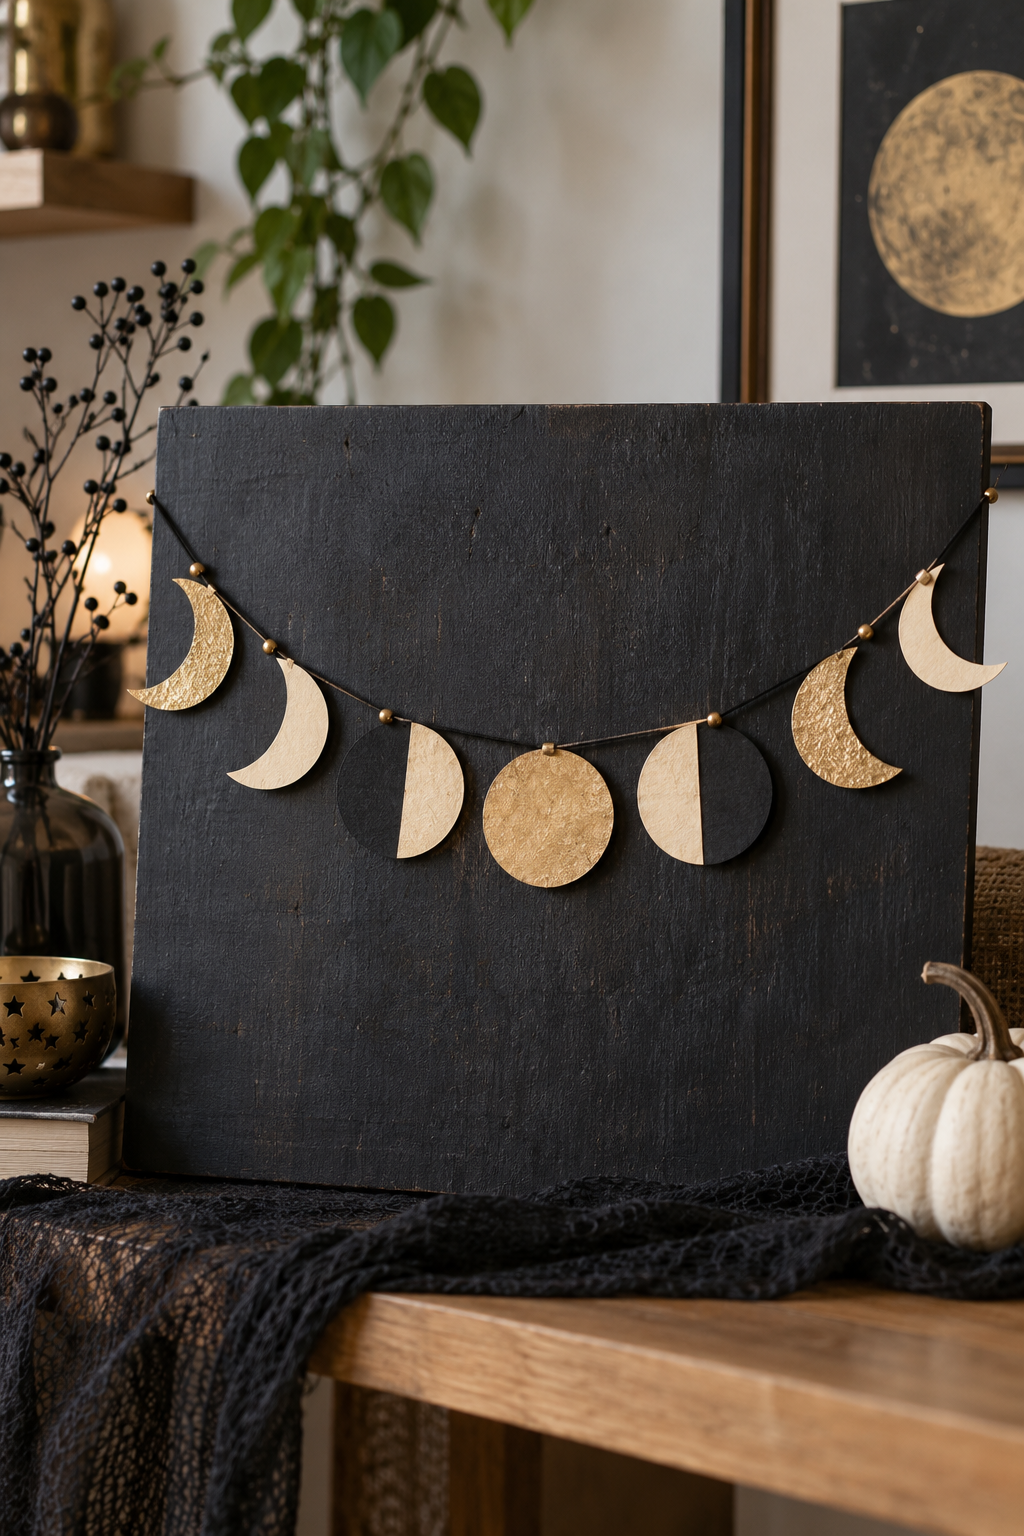
Cut a few crescents and circles from leftover card to create a short celestial garland. Black, cream and muted gold paper give it a Halloween feel while staying calm enough for a living room. A small number of shapes keeps the project quick and easy to store.
Make it work at home: Arrange the shapes before joining them and avoid unnecessary long cords. Keep the garland out of children’s reach and away from hot lights. Use a suitable permitted attachment or display the shapes on a freestanding board.
10. Decorate a clean jar as a supply holder
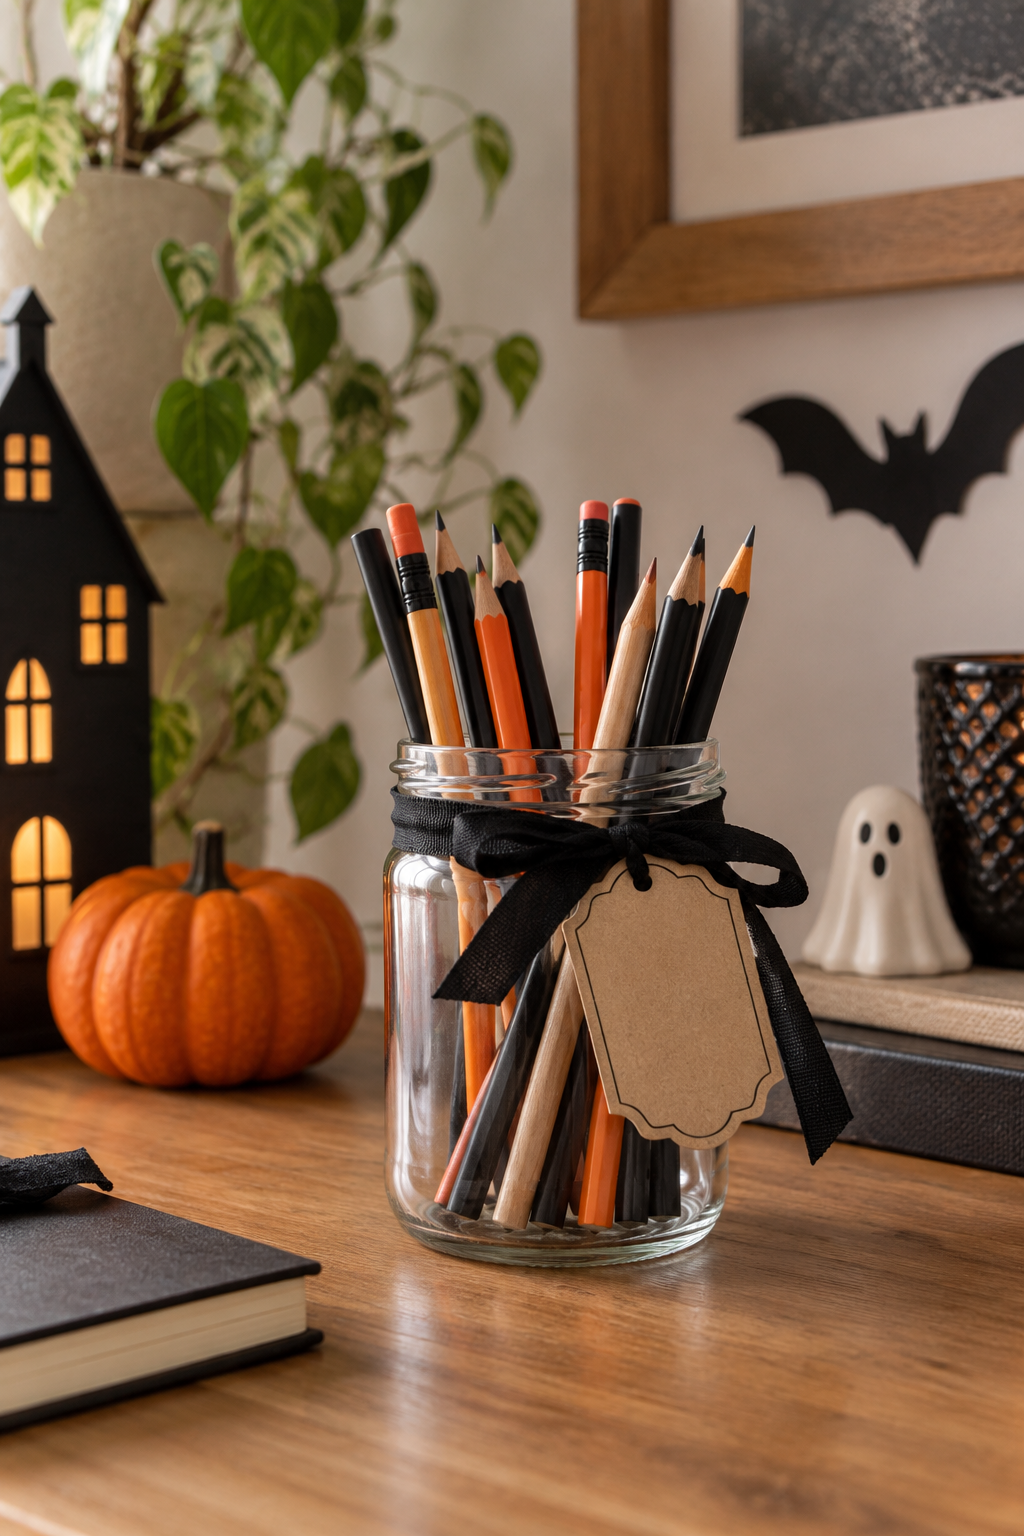
A washed, dry jar can hold pencils or wrapped craft supplies with a removable black ribbon and a paper Halloween tag. The jar’s existing shape does most of the work. Keeping the decoration on the outside lets you switch the theme after October.
Make it work at home: Inspect the jar for cracks or sharp edges and handle glass carefully. Do not cover product or safety labels on containers still in use. Use it as a decorative holder; do not turn a paper-wrapped jar into a candle lantern.
11. Make a tiny broom ornament
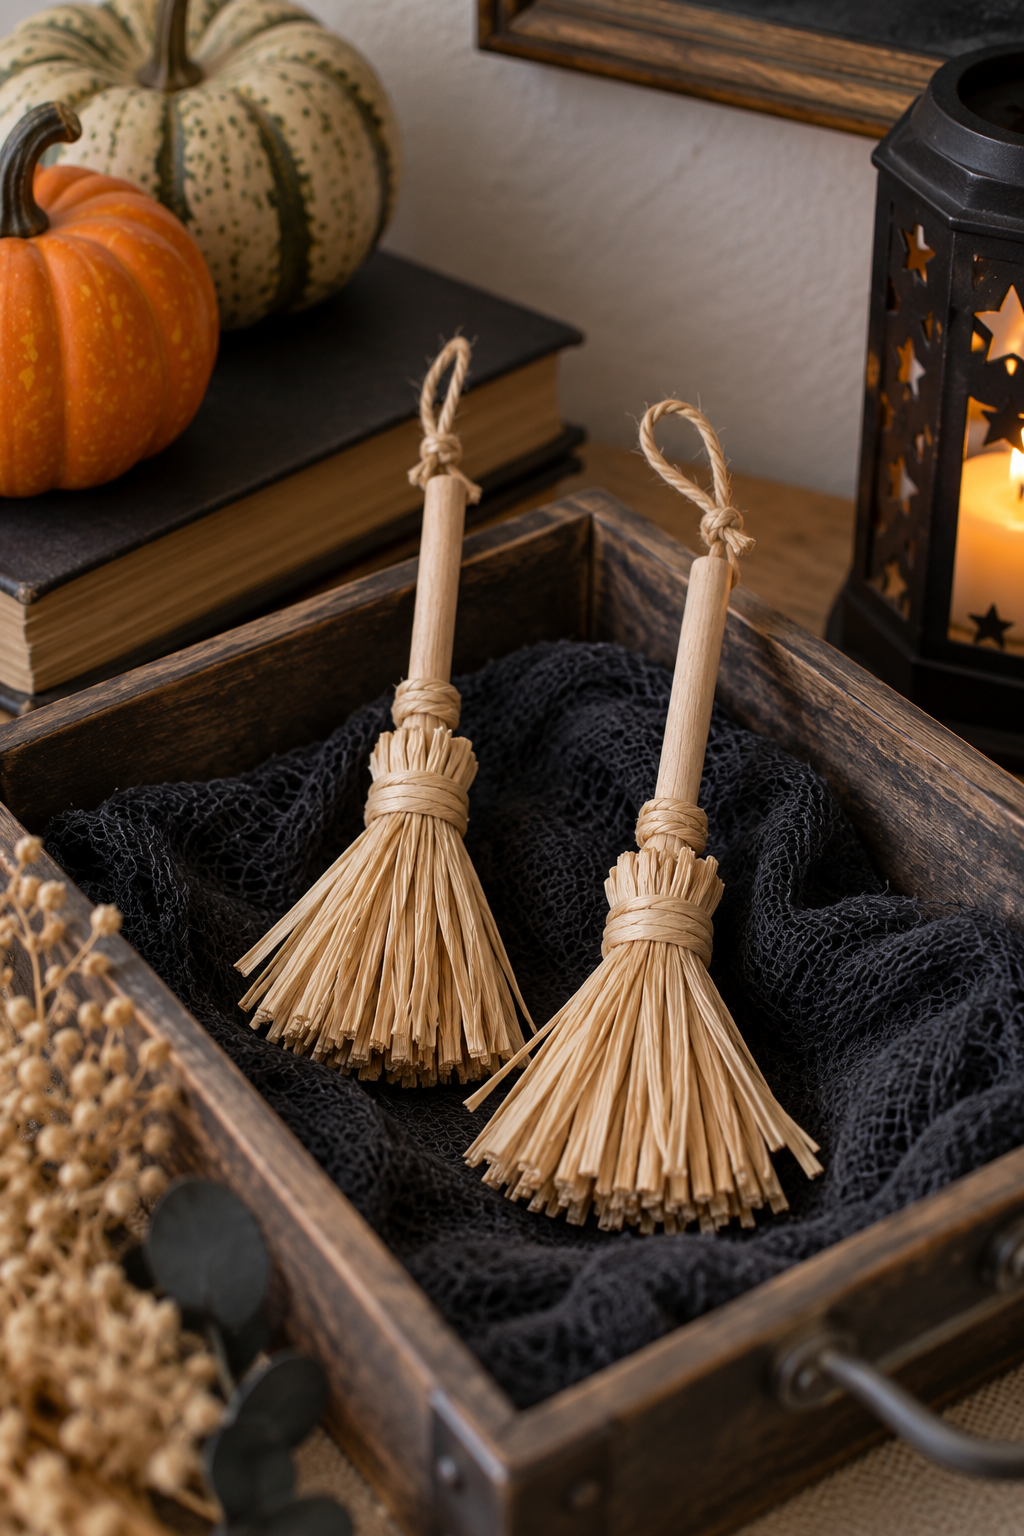
A short wooden craft stick with a neatly tied bundle of raffia can become a miniature witch’s broom. A pair displayed in a shallow tray brings texture to a Halloween shelf. Keep the scale small so the ornament fits with your other tabletop pieces.
Make it work at home: Trim loose ends and secure the bundle firmly using suitable craft materials. Keep splintered sticks and small offcuts out of the display. Place the ornament away from heaters and treat it as decor rather than a toy.
12. Sew or tie a soft fabric pumpkin
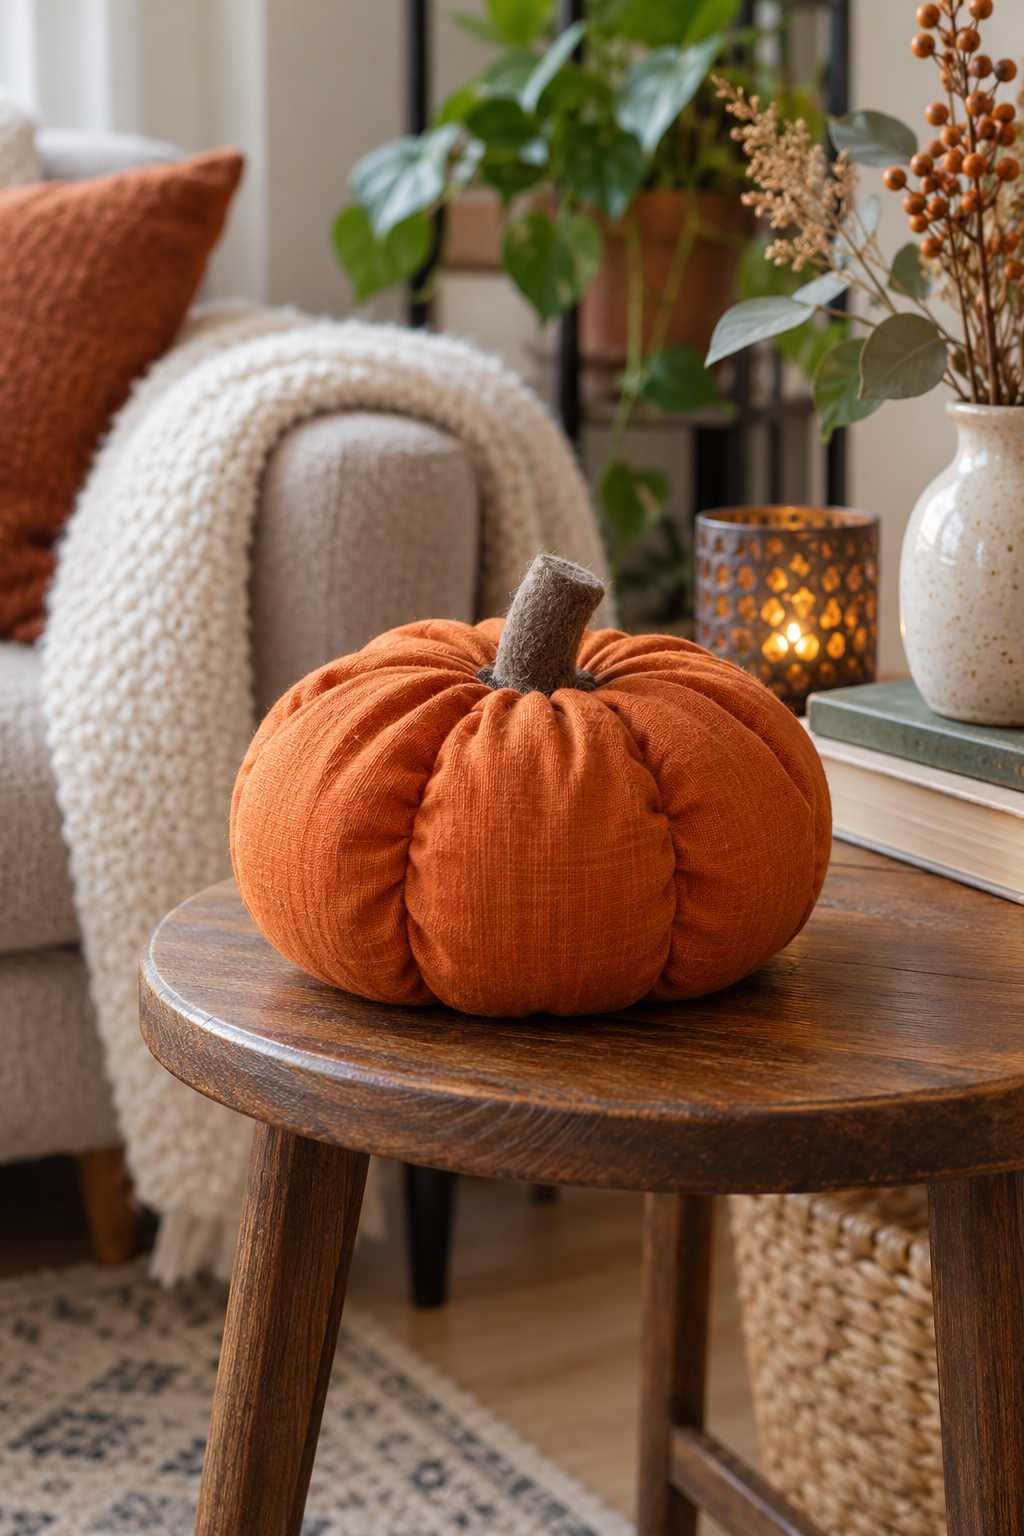
A small fabric pumpkin is a good use for a clean remnant in a seasonal color. A gathered fabric pouch with a secured filling and a short felt stem creates a soft rounded shape. Make one compact pumpkin rather than a large collection so you can finish and store it easily.
Make it work at home: Choose a filling and closure appropriate to the household, keeping loose contents enclosed. If you are new to sewing, practice the gathering stitch on a scrap first. Keep needles and pins accounted for and remove them from the finished decoration.
A simple weekend craft plan
Choose one paper project and one reusable fabric or frame project. Cut all the pieces first, then assemble on a protected table. Leave drying time before styling the finished items. Store spare materials together and photograph the display so you can recreate it without starting from scratch next year.
Frequently asked questions
Which Halloween DIY is easiest for a beginner?
A framed paper silhouette needs only a simple shape, a backing sheet and a frame. A folded black-cat card is another small project that avoids complicated painting or sewing.
How can I keep a Halloween craft budget under control?
Choose projects around materials you already own. Buy only the missing essentials after making a supply list. Avoid starting several crafts that each require different paints, tools and decorative extras.
Can I use indoor paper crafts outdoors?
Ordinary paper, cardboard and many craft adhesives do not suit rain or outdoor exposure. Keep these projects indoors, or choose a separate outdoor-rated decoration intended for your conditions.
Keep making your apartment feel personal
Explore the Budget Decor collection for affordable ways to style the furniture and space you already have.
For more seasonal inspiration, explore 12 Indoor Halloween Decor Ideas for a Cozy Small Apartment, 12 Outdoor Halloween Decor Ideas for Small Porches and Apartment Balconies, 12 Halloween Party Decor Ideas for a Small Apartment Gathering.